Teal is my absolute favorite color of blue 💙 And I was hoping for a bit bigger bottle but trust me I will use this up very quickly!! Thanks so so much 👍😊❣️❣️
These colors are going to be gorgeous but I expected the container to appear like the picture and this way it would not get shuffled with some of my other inks-sounds silly but I did expect little larger bottles-but like I said-the color of purplish red is truly one of my absolute favorites!! So it really does deserve 5, possibly 6 stars 😃❣️❣️❣️
Everything about this company was exceptional, from the product itself to the customer service. And being an American company was a big bonus. Will absolutely recommend.
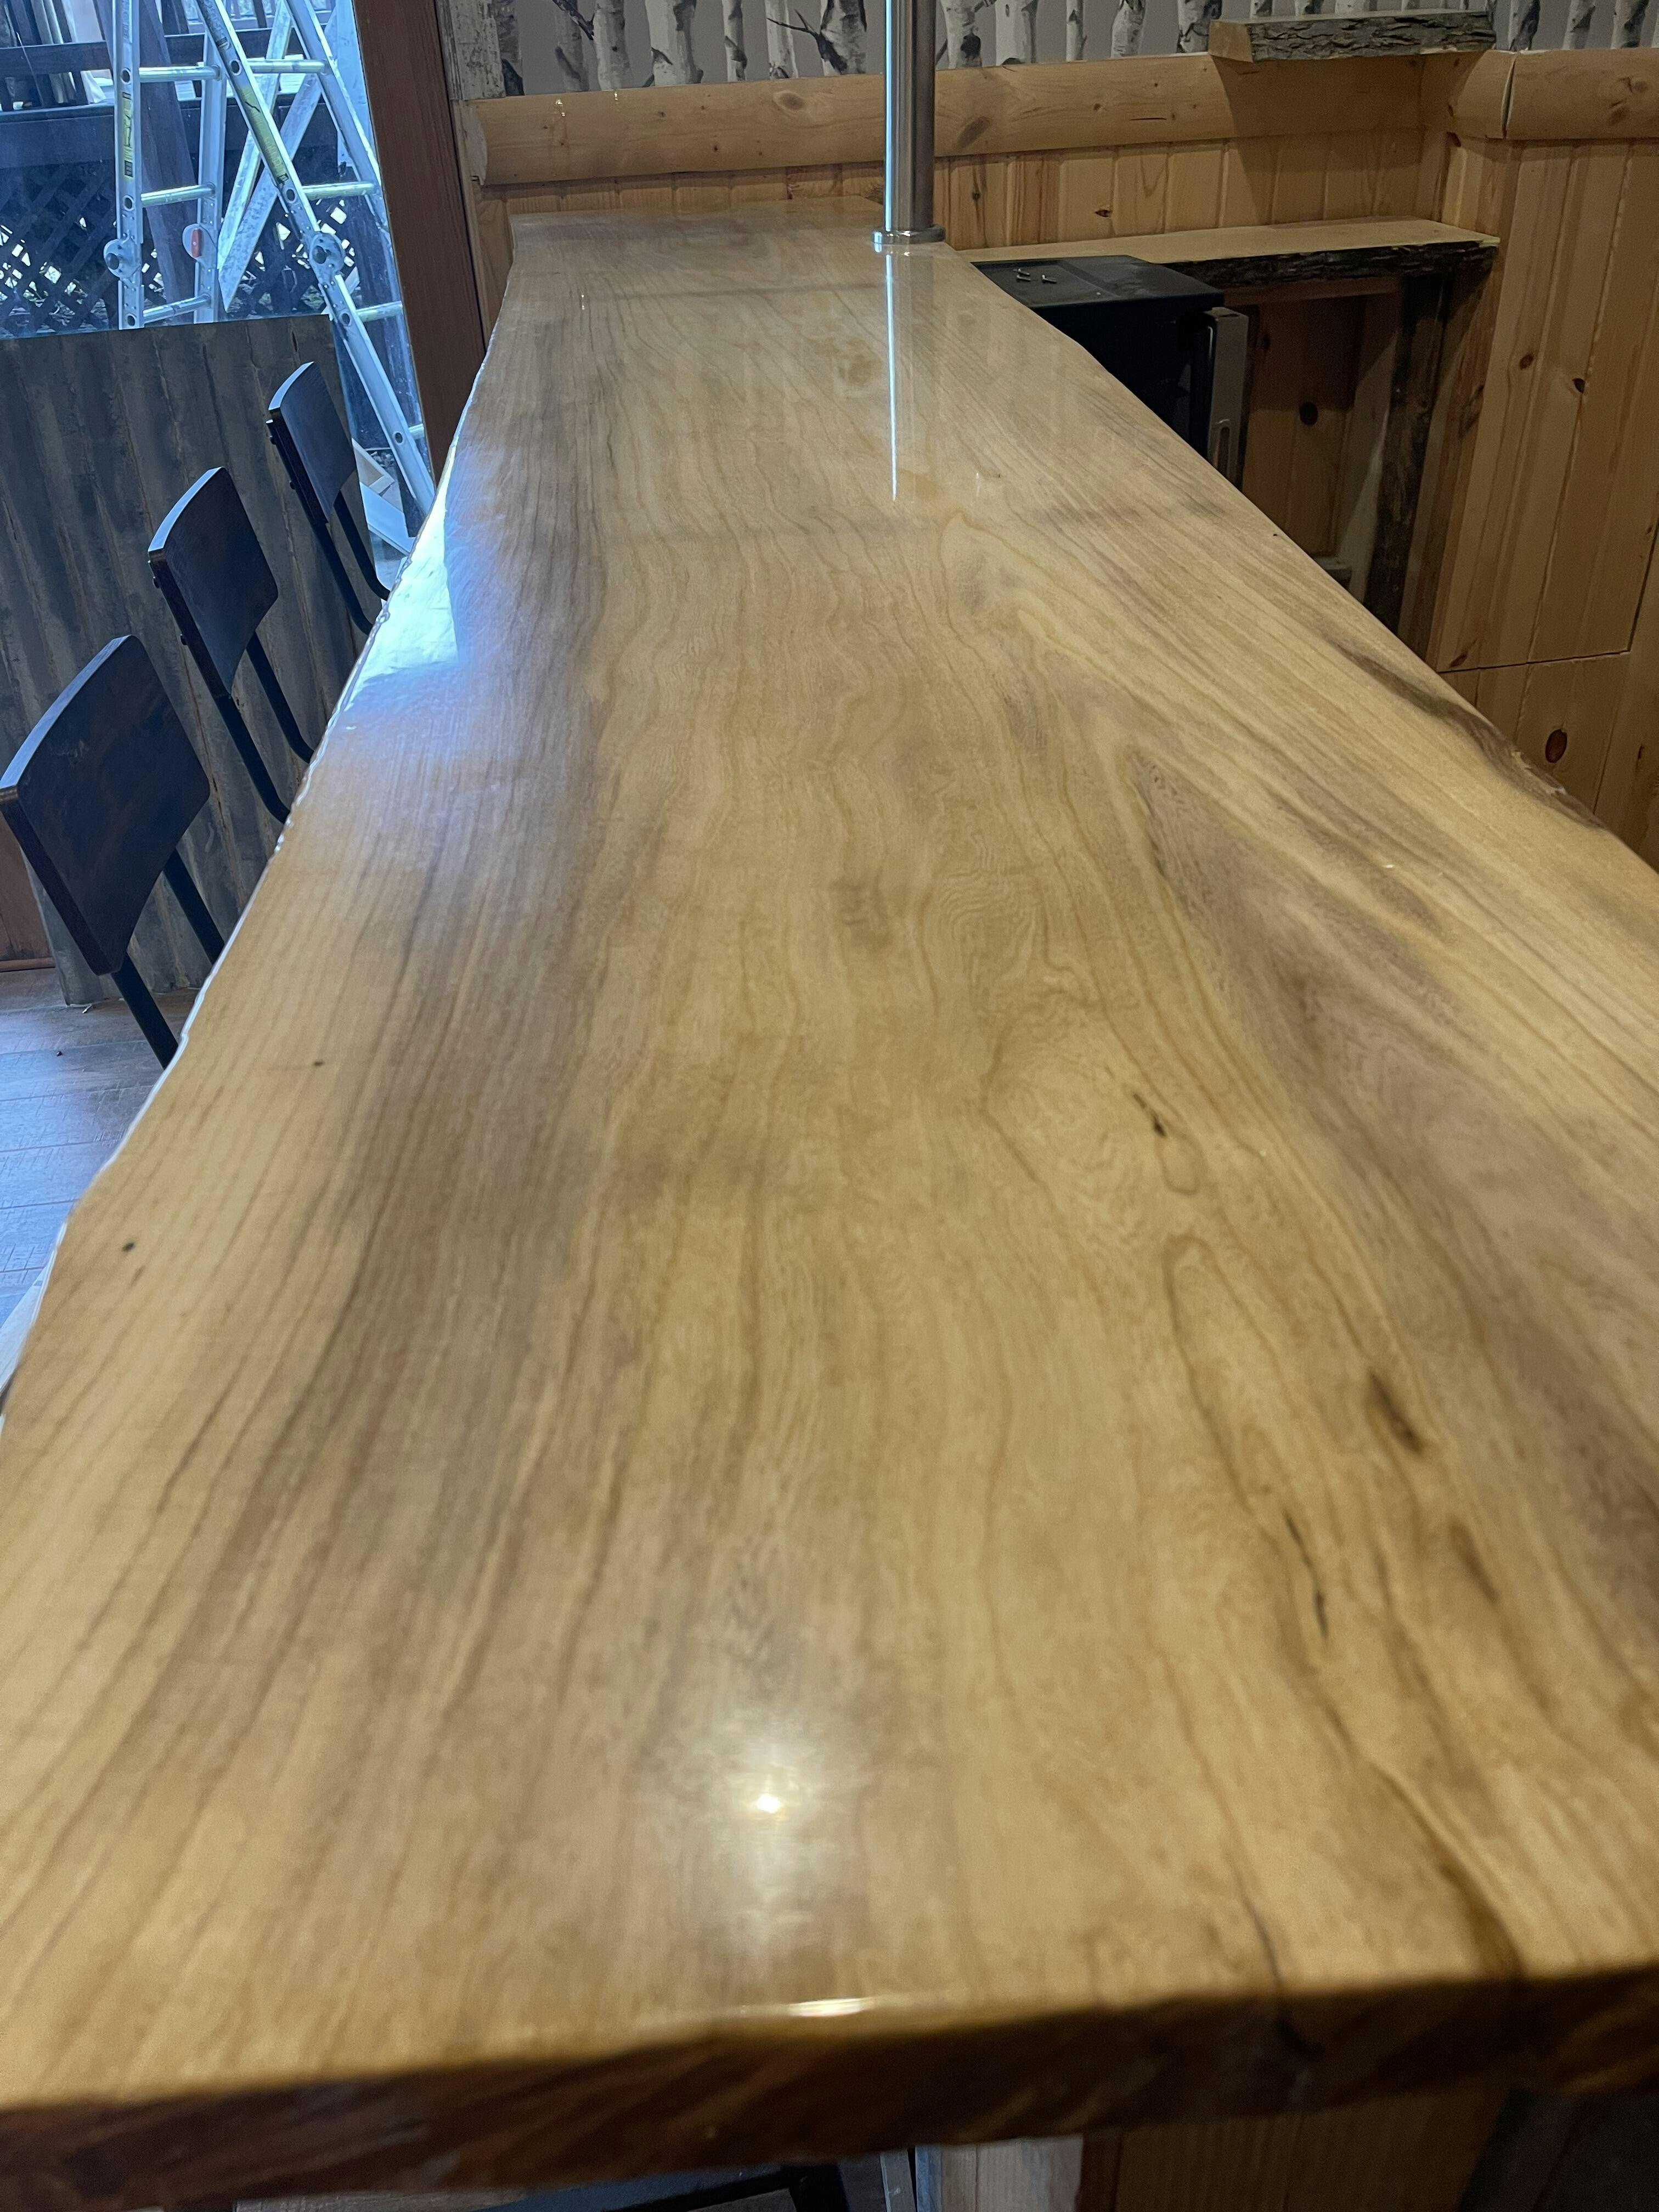
This epoxy is very easy to use. Had so many compliments on it and they wondered what professional did it for us. If we do anymore projects like this i will definitely use it again!
Best epoxy I've used for large projects! Good communication which is greatly appreciated.
Amazing products! This stuff is everything I've dreamed of!
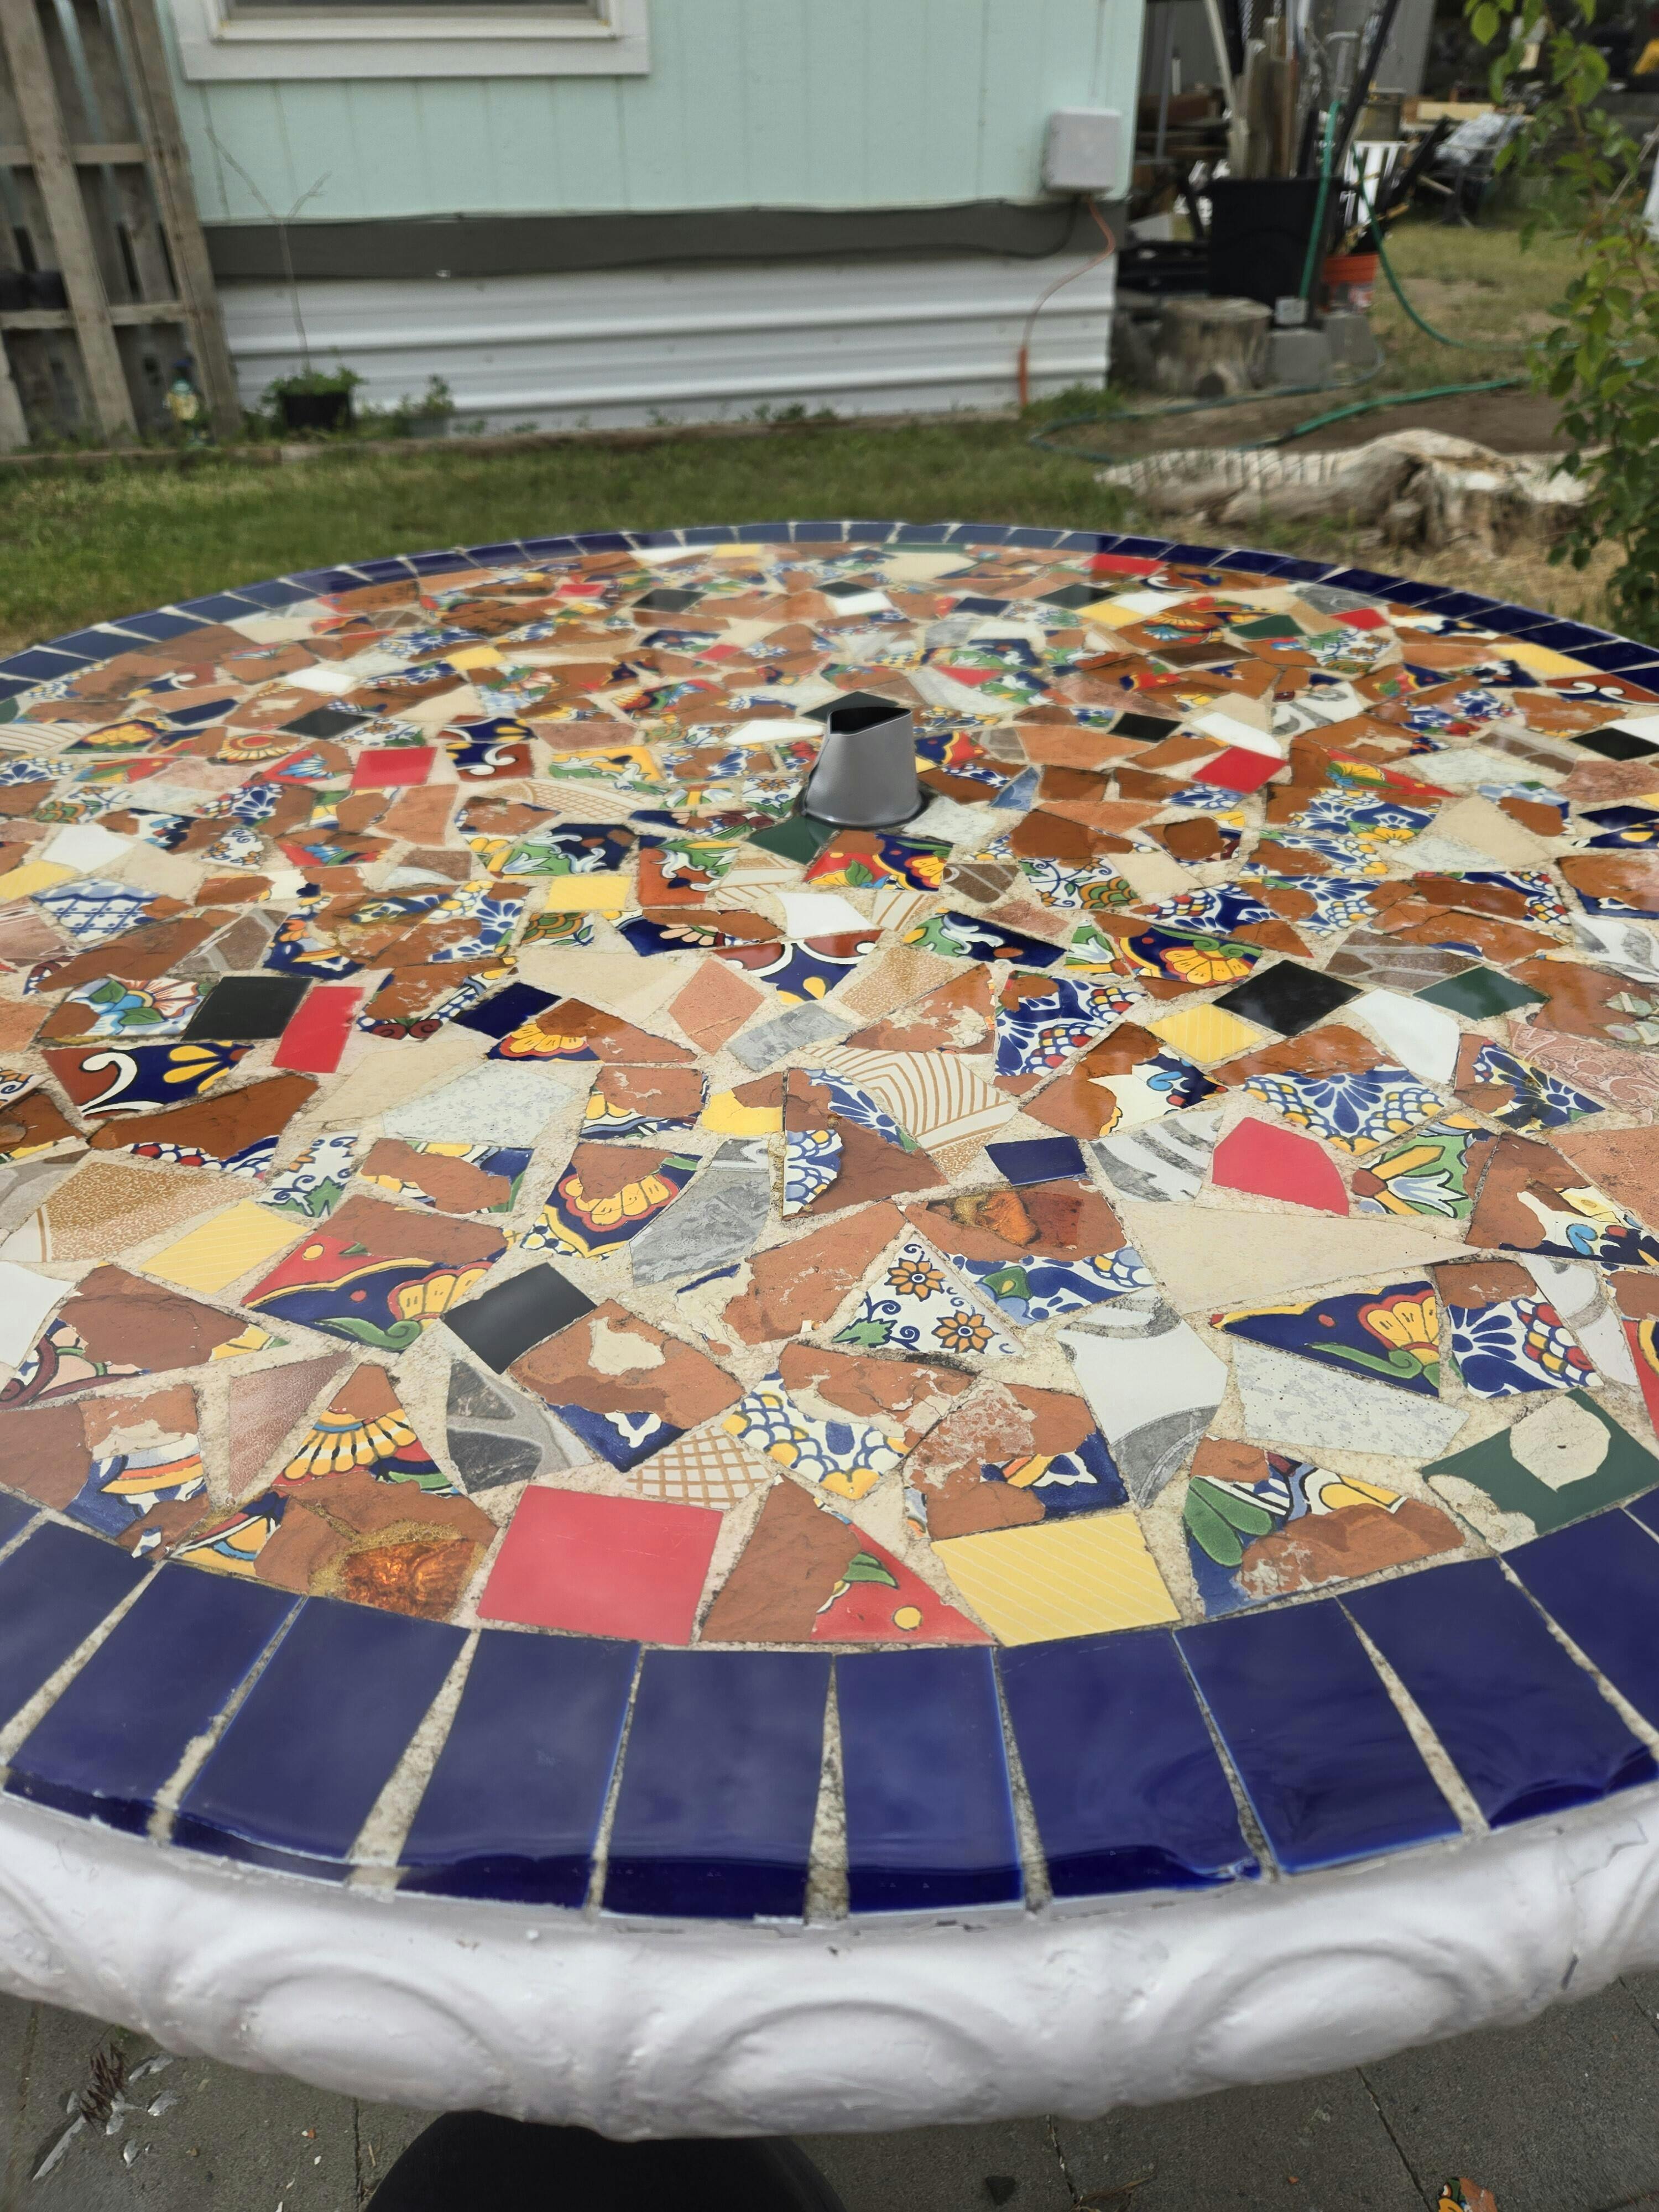
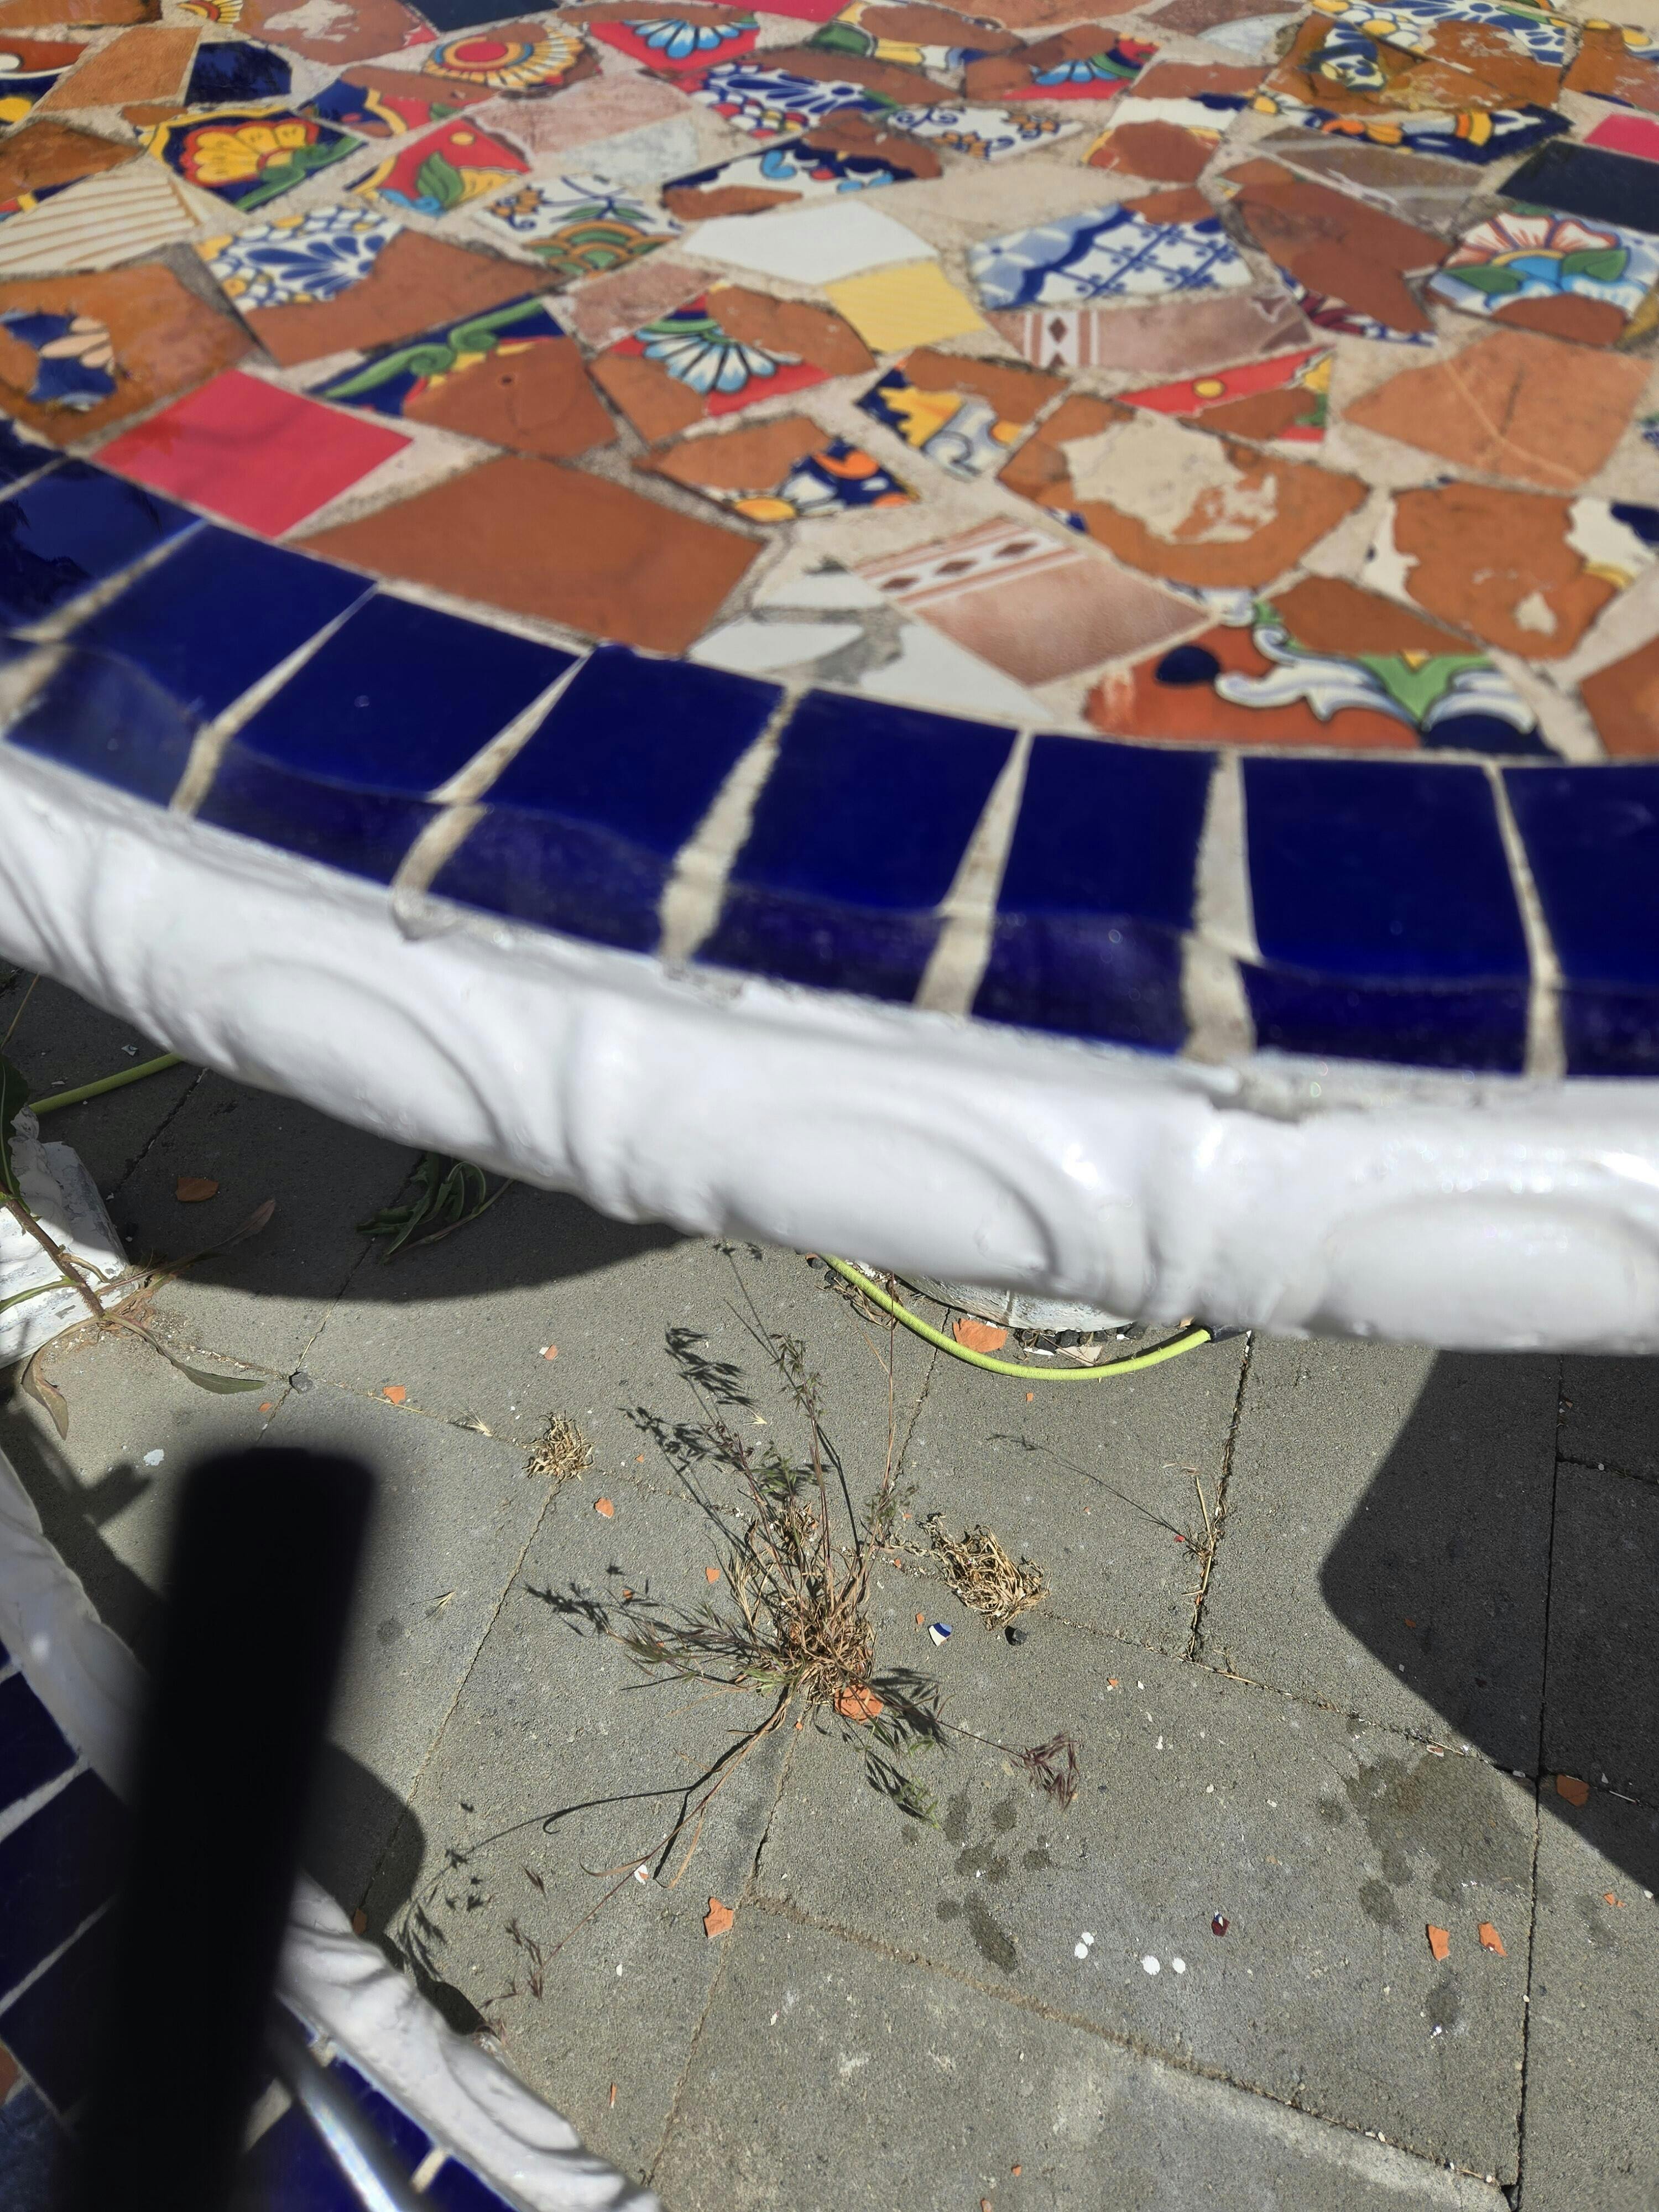
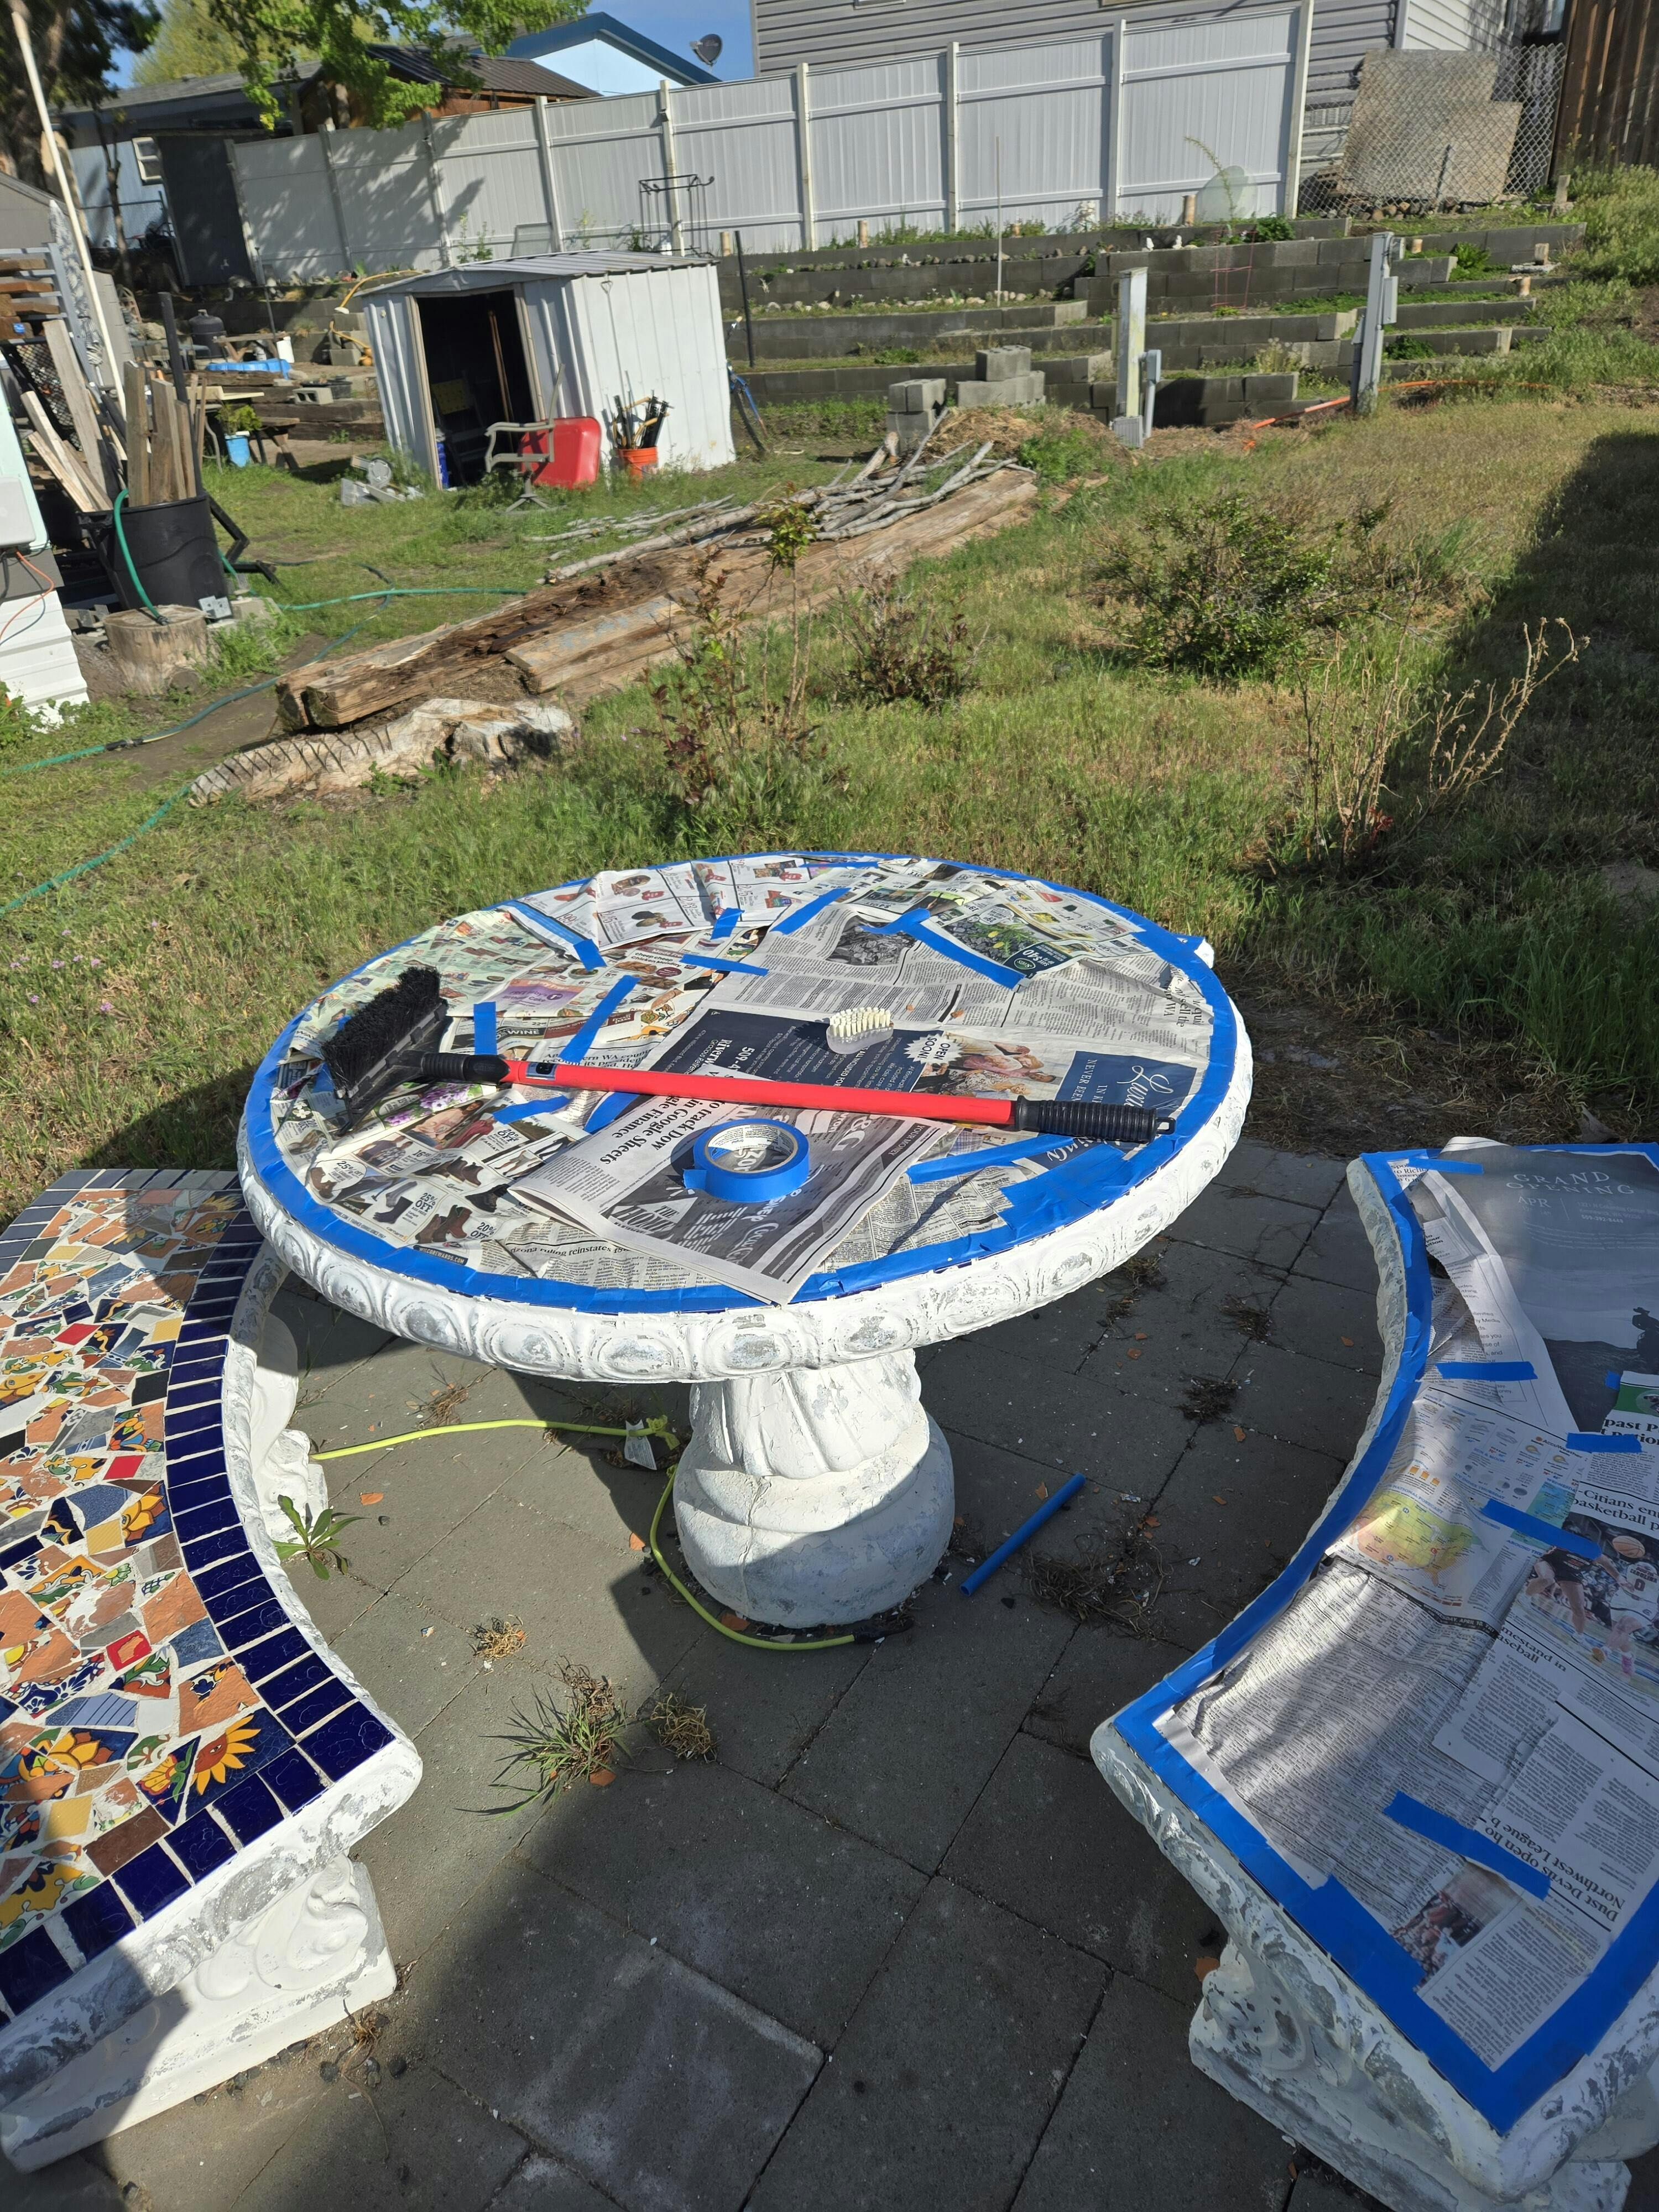
I have not had a chance to finish my project as it is outside and weather has not been the best. I did get the table done, yesterday. I still have the benches to do when weather permits, hopefully tomorrow.
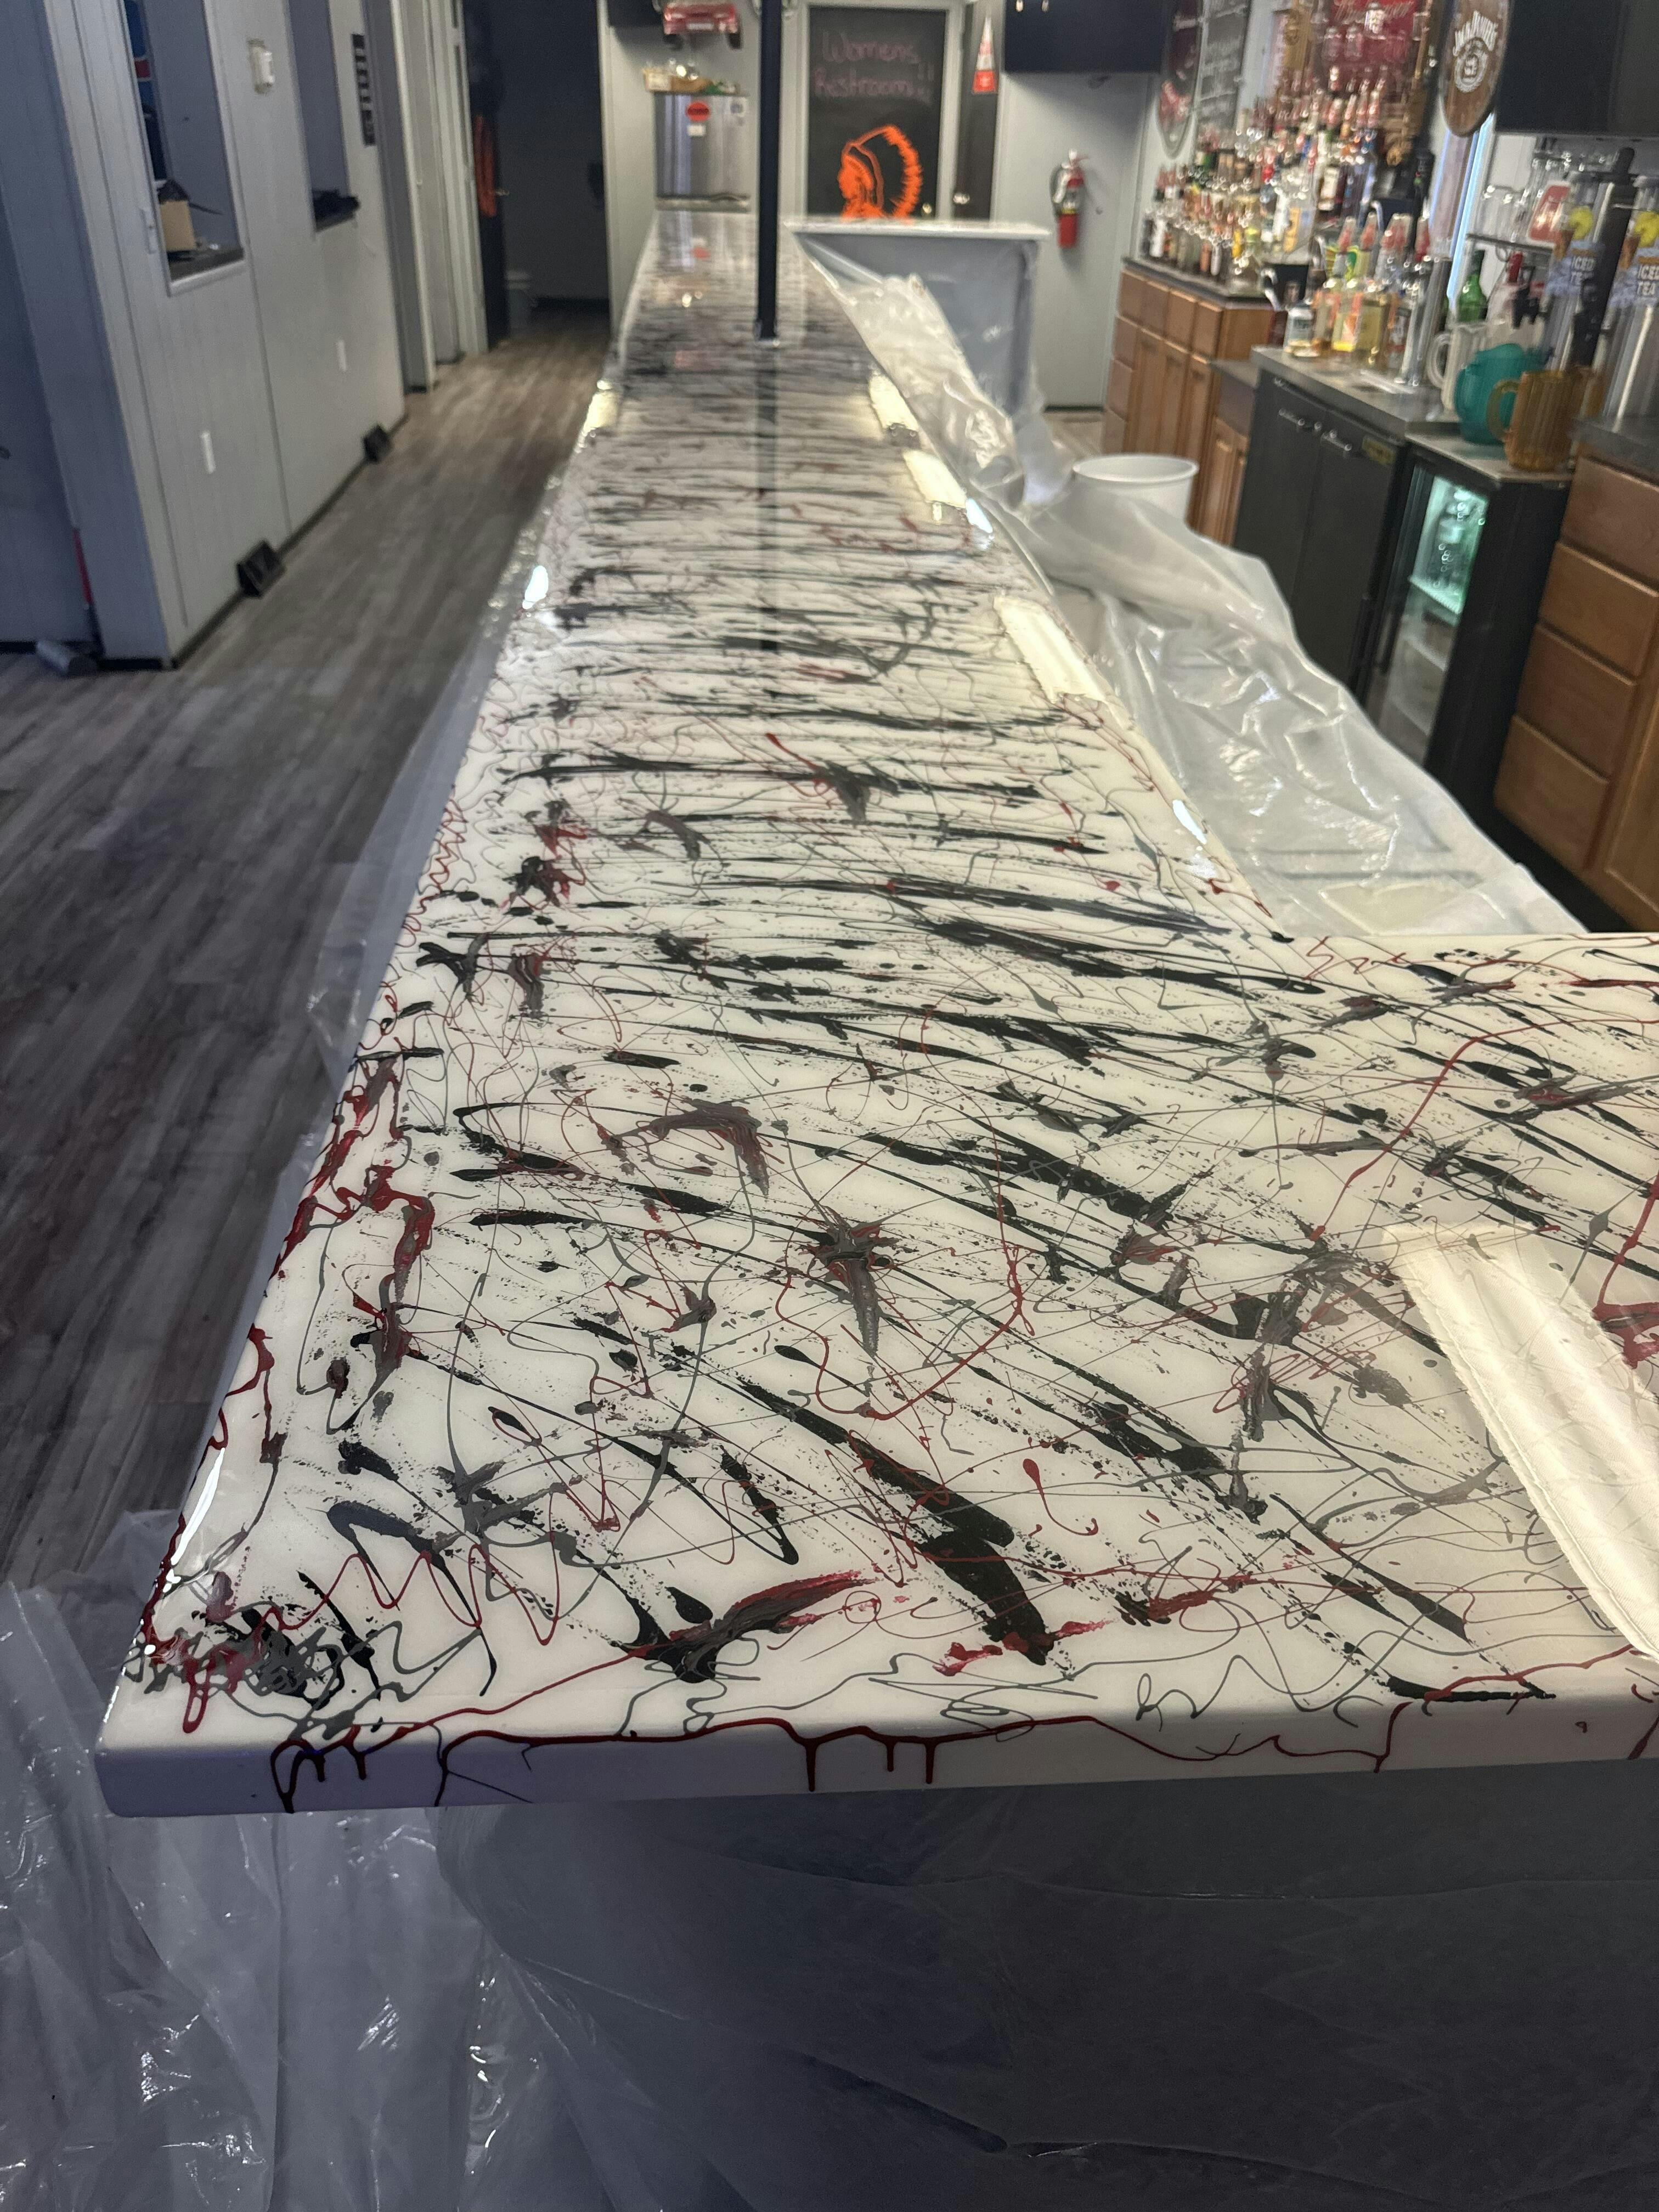
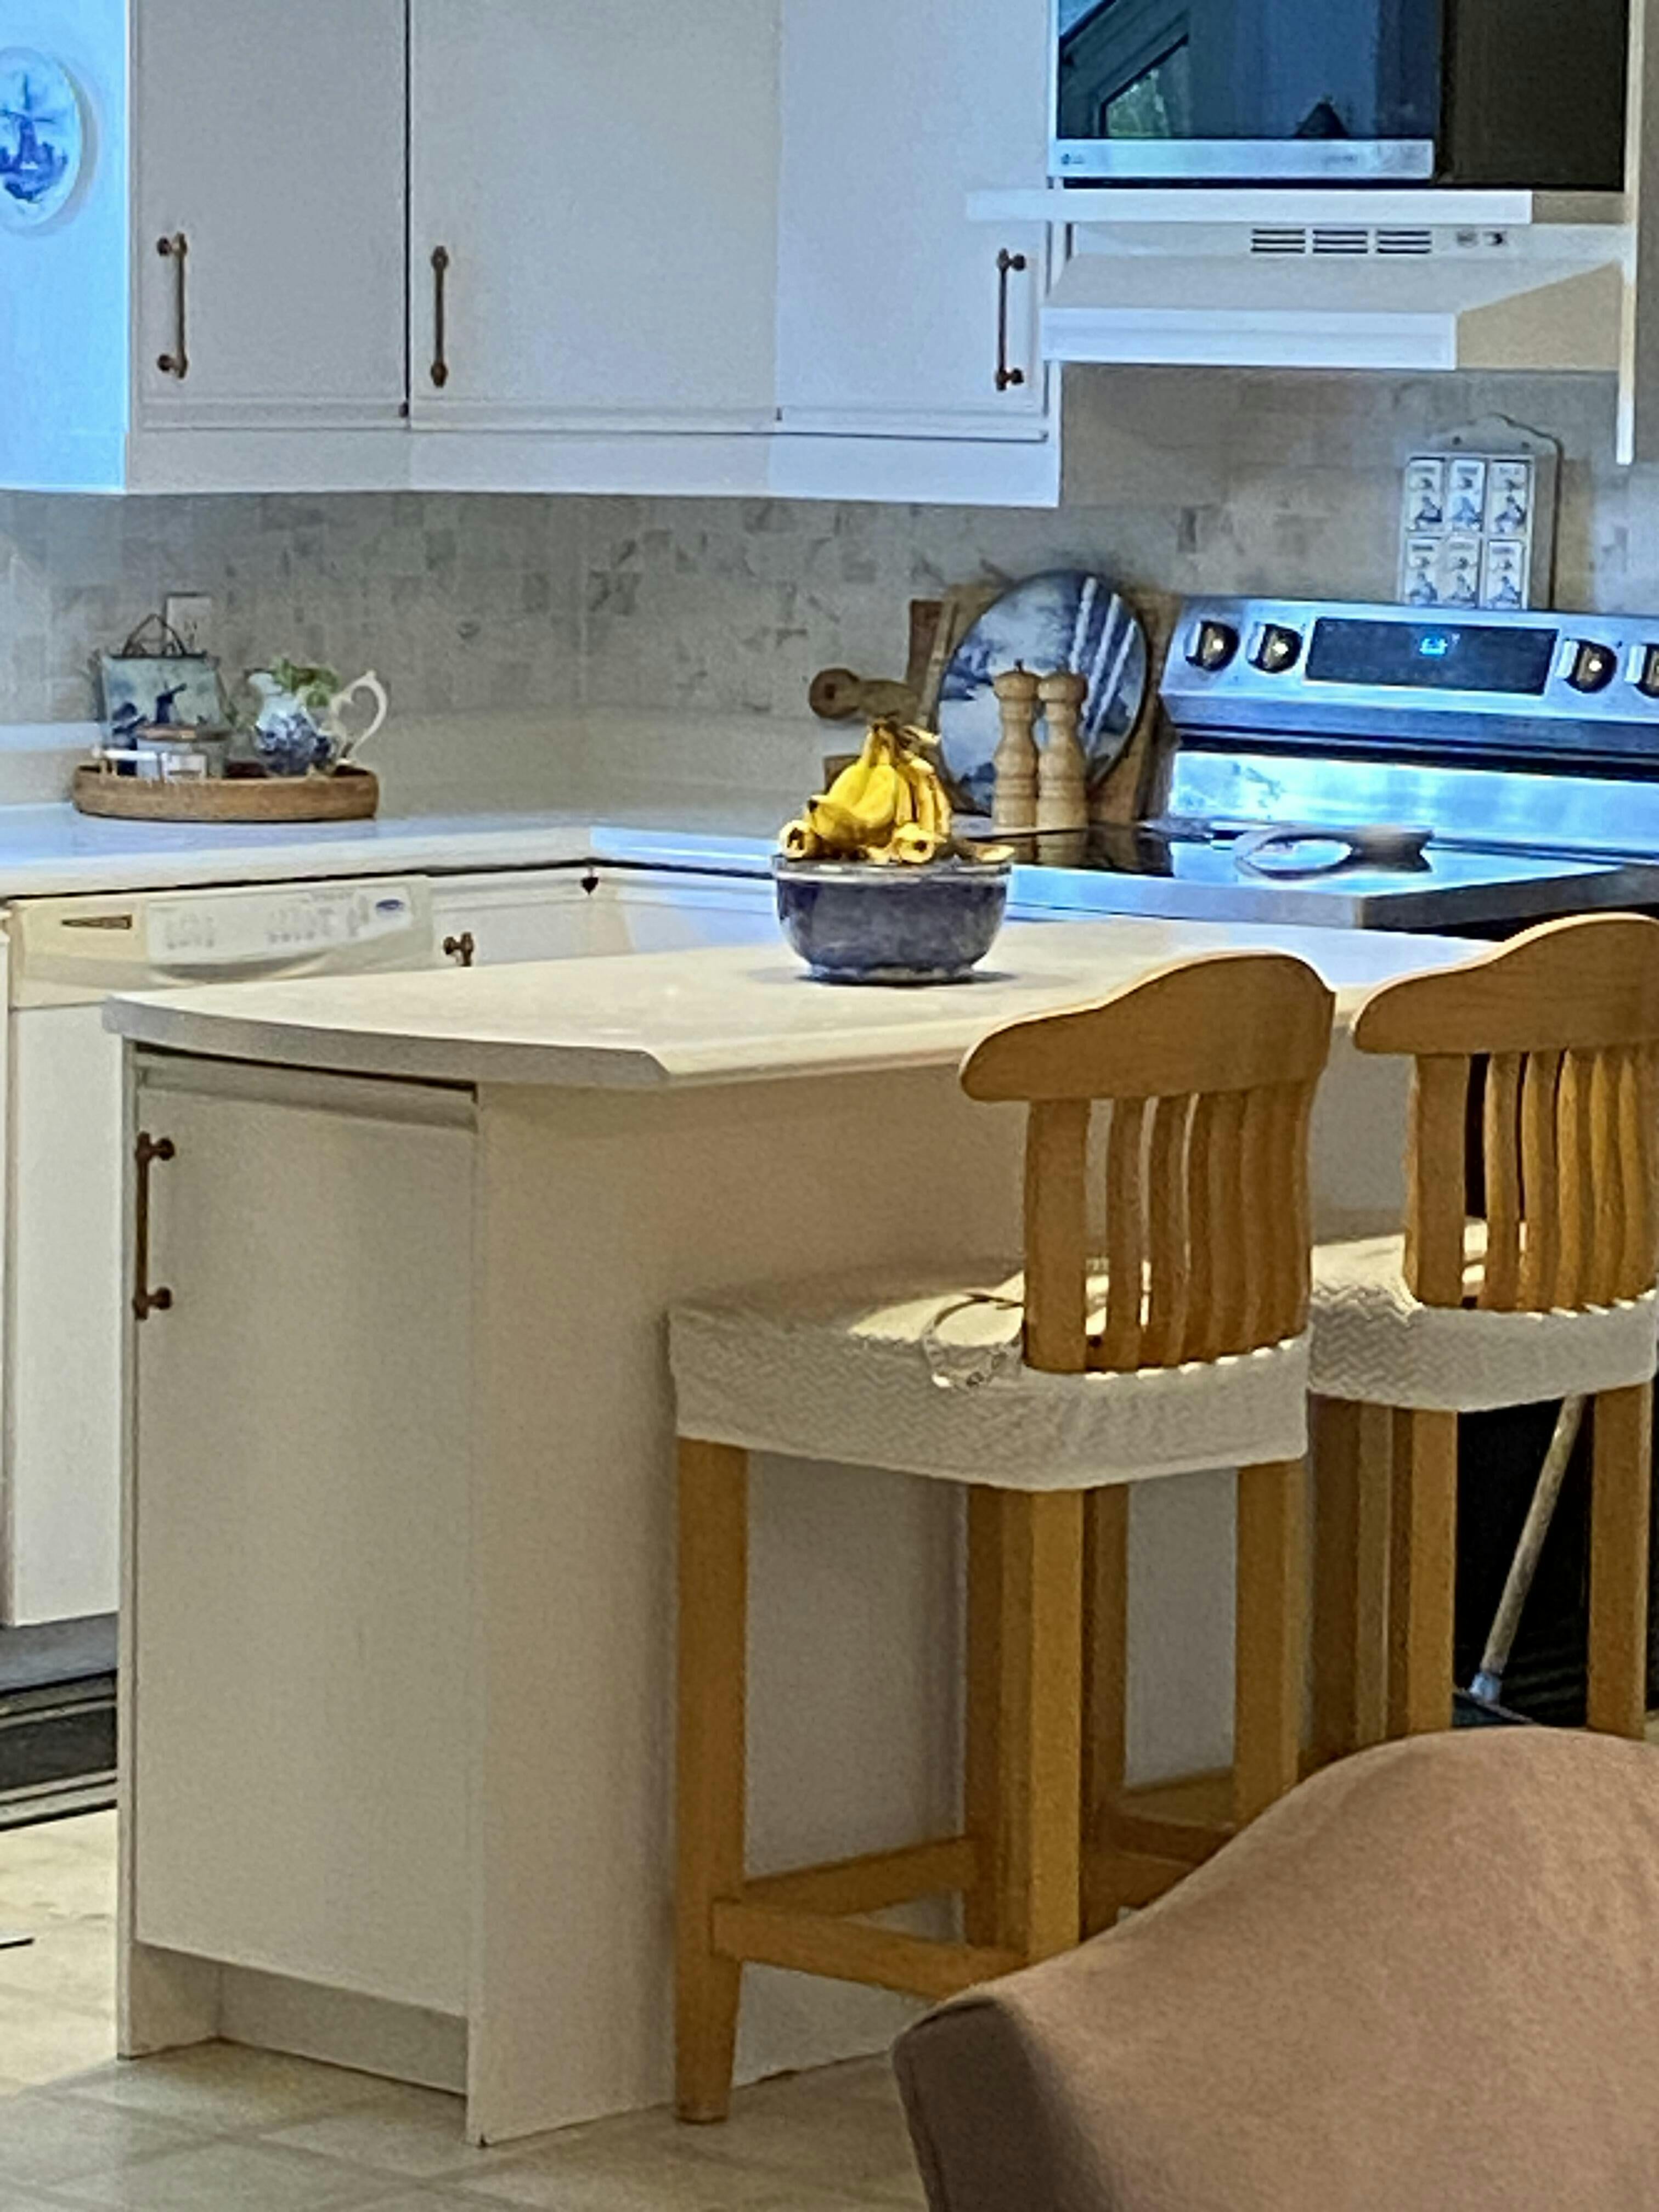
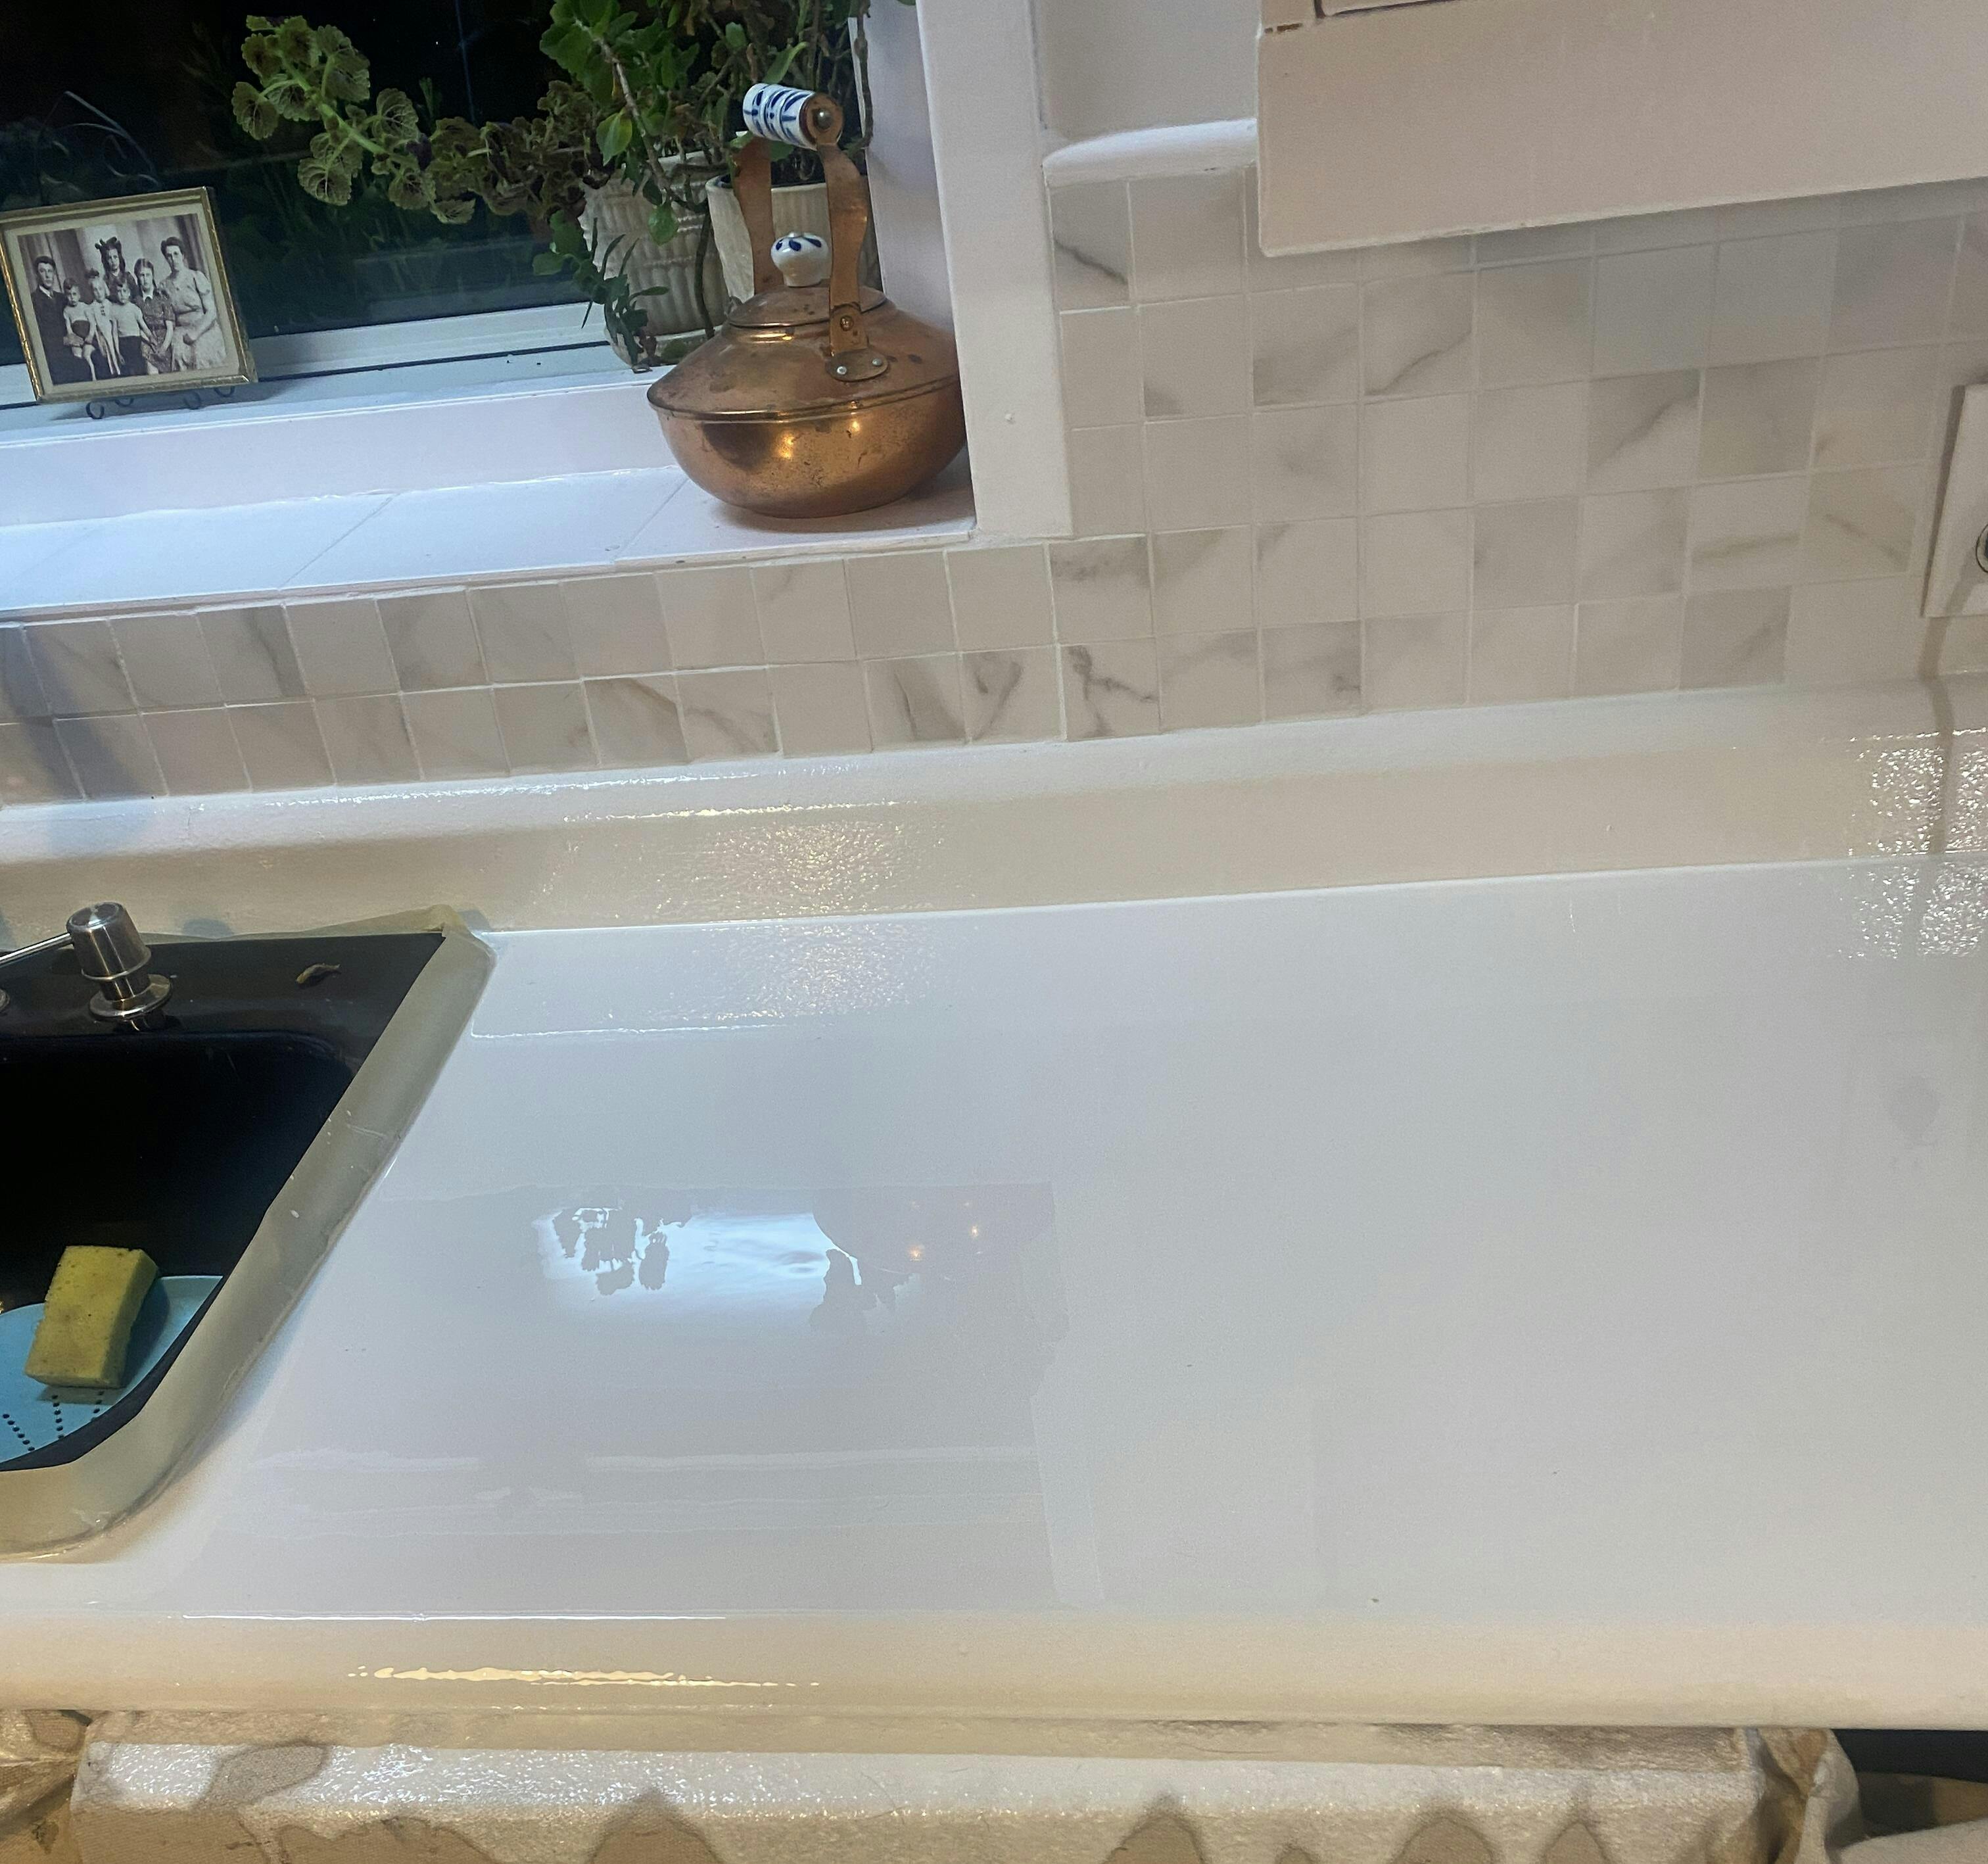
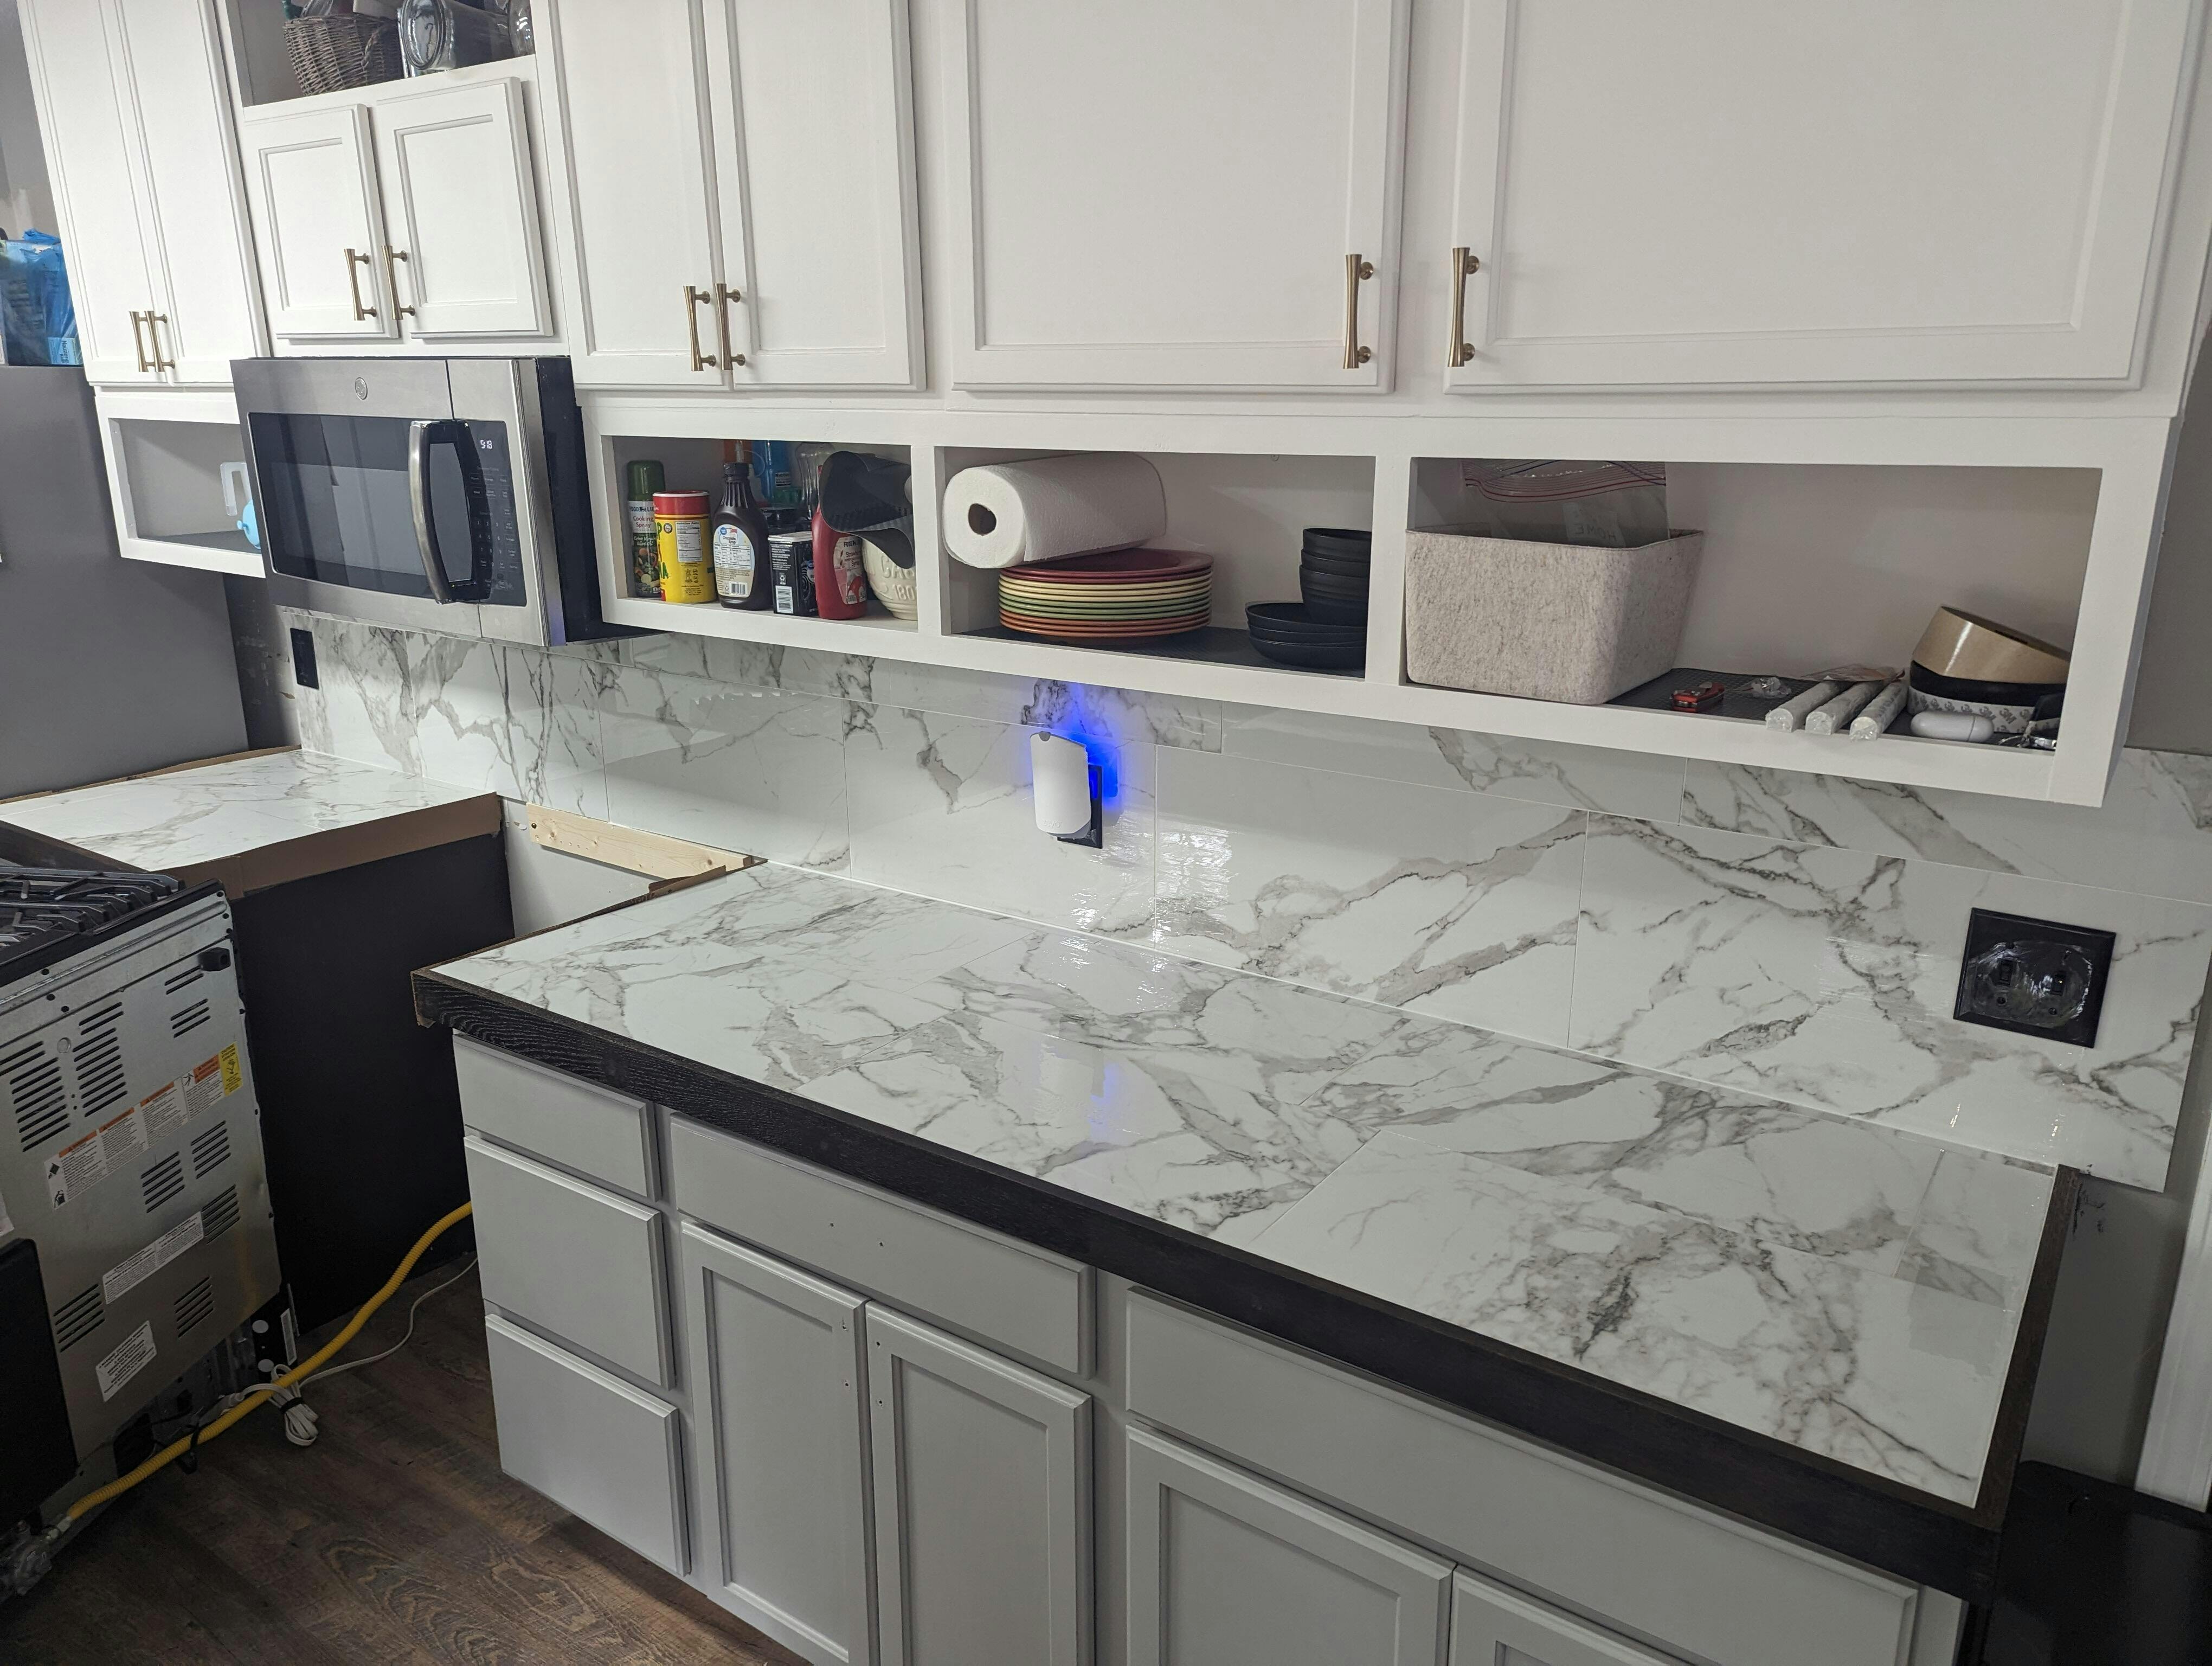
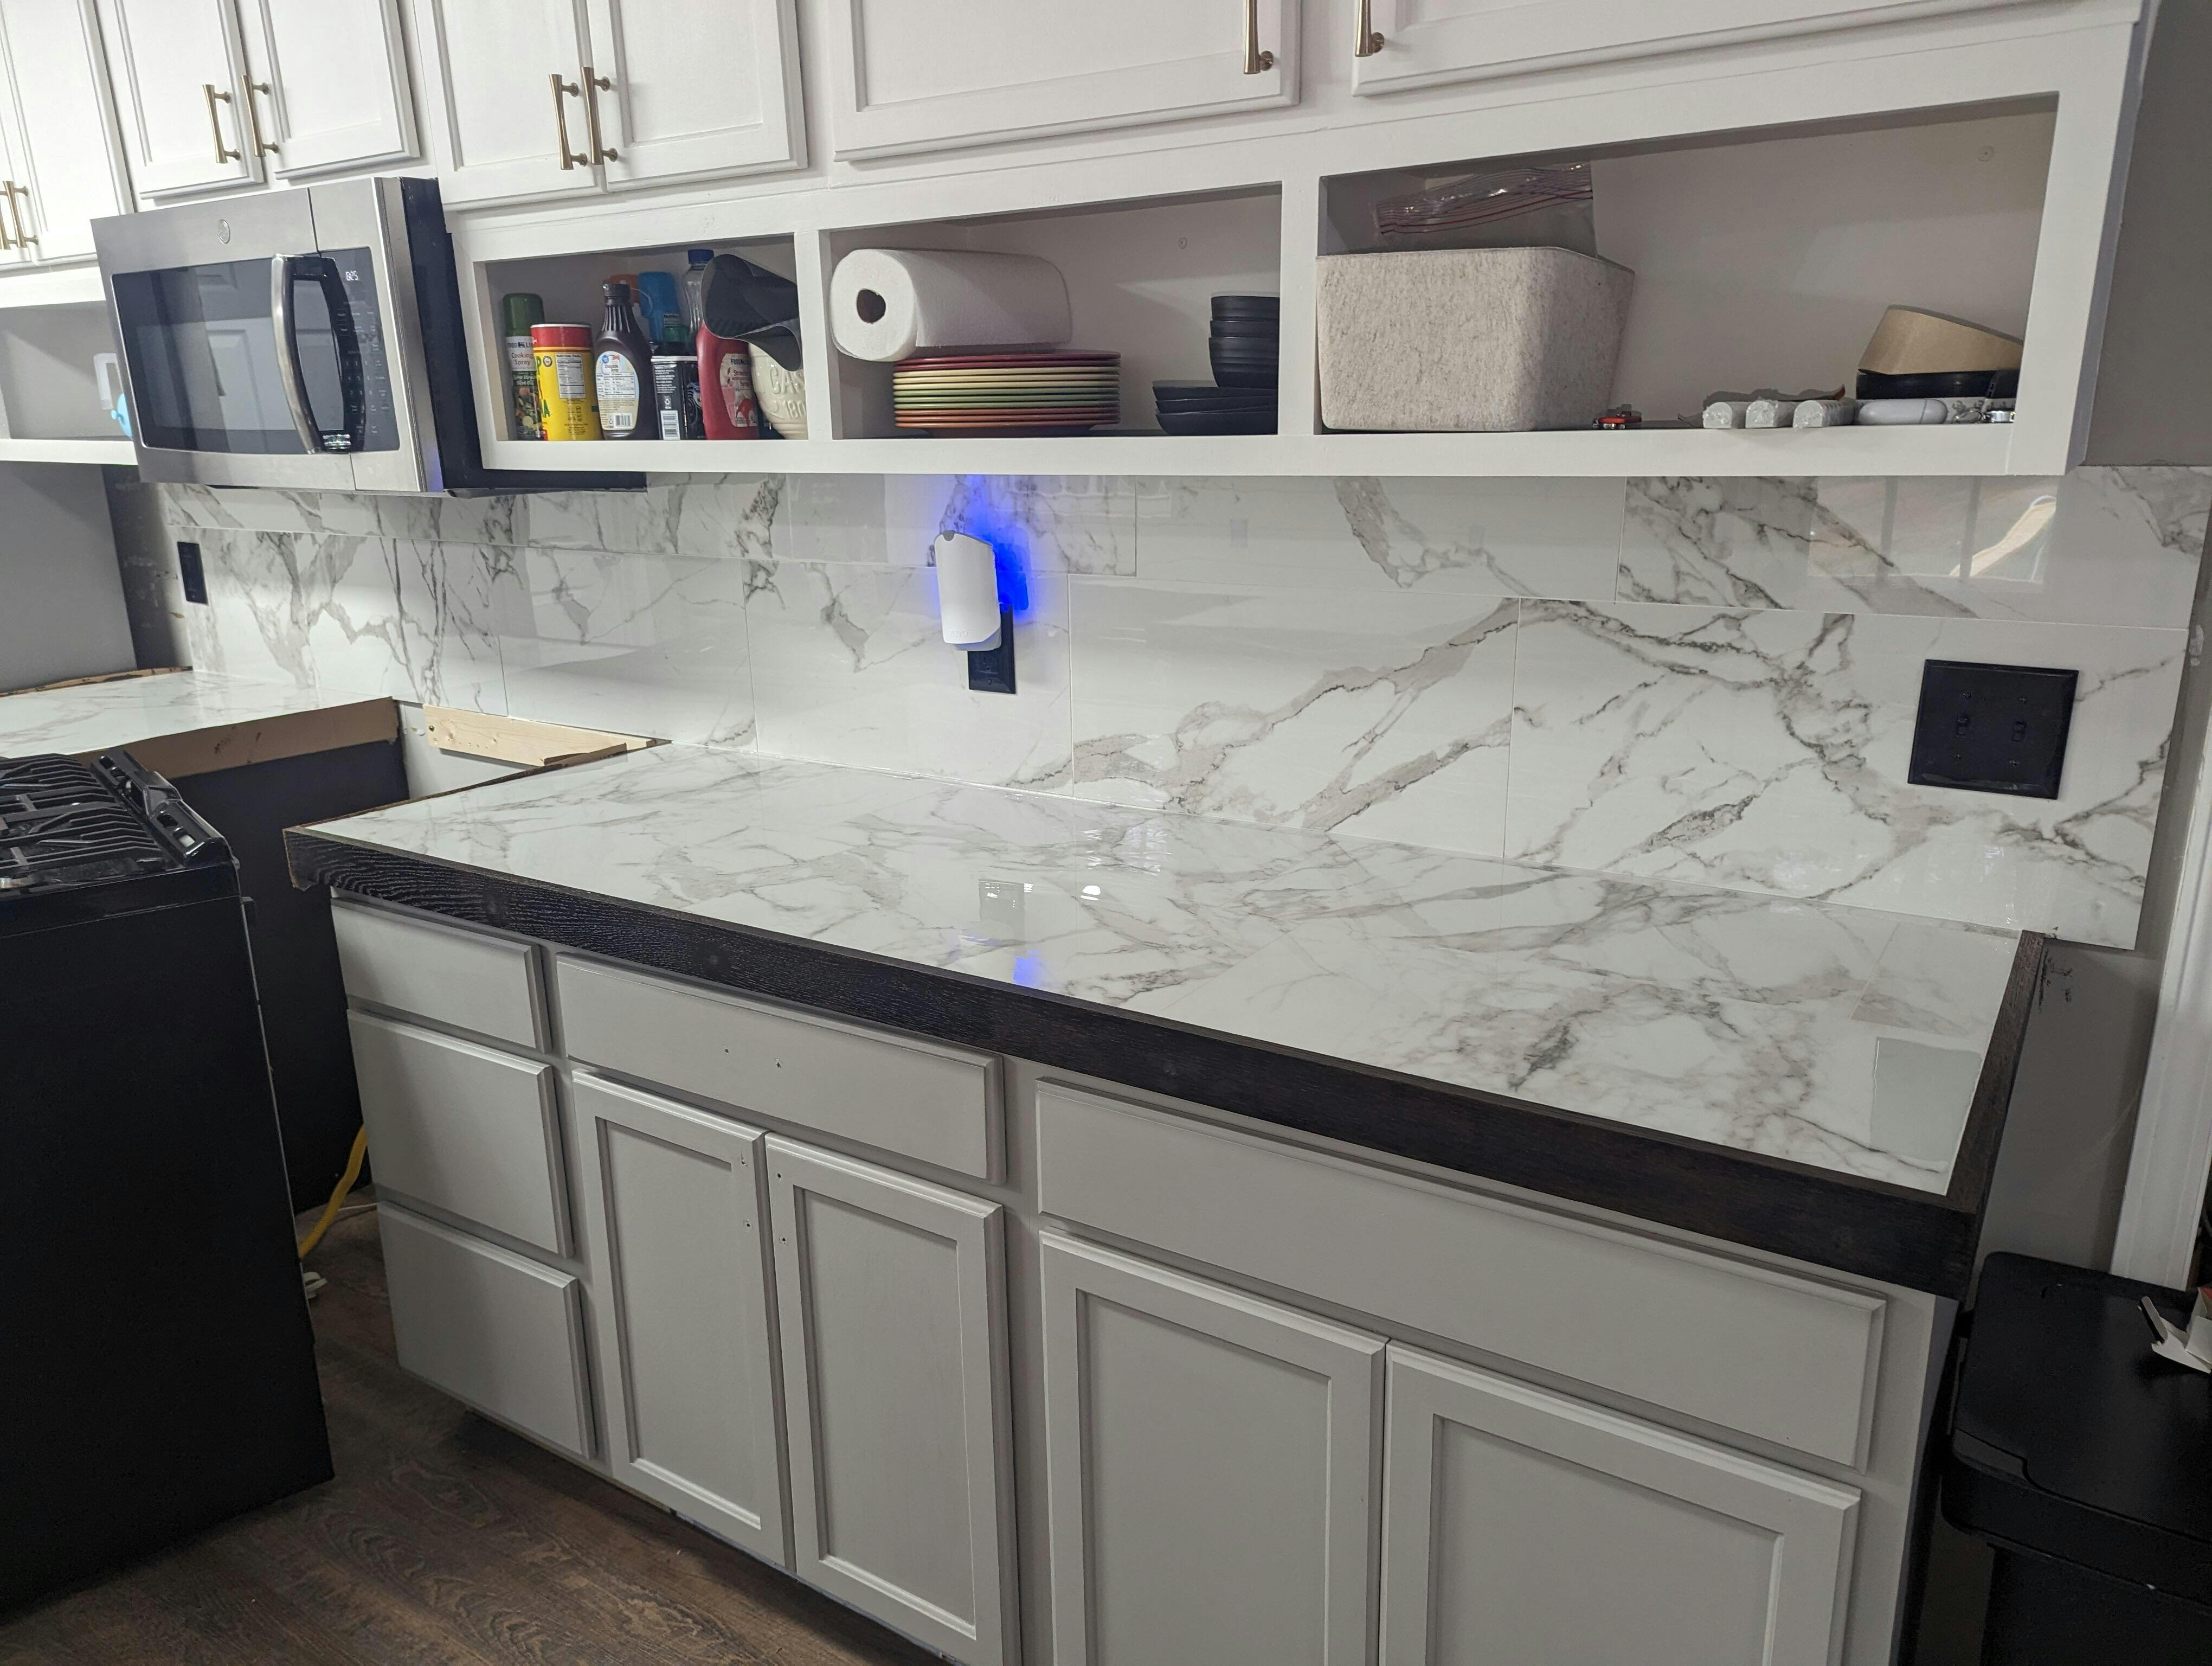
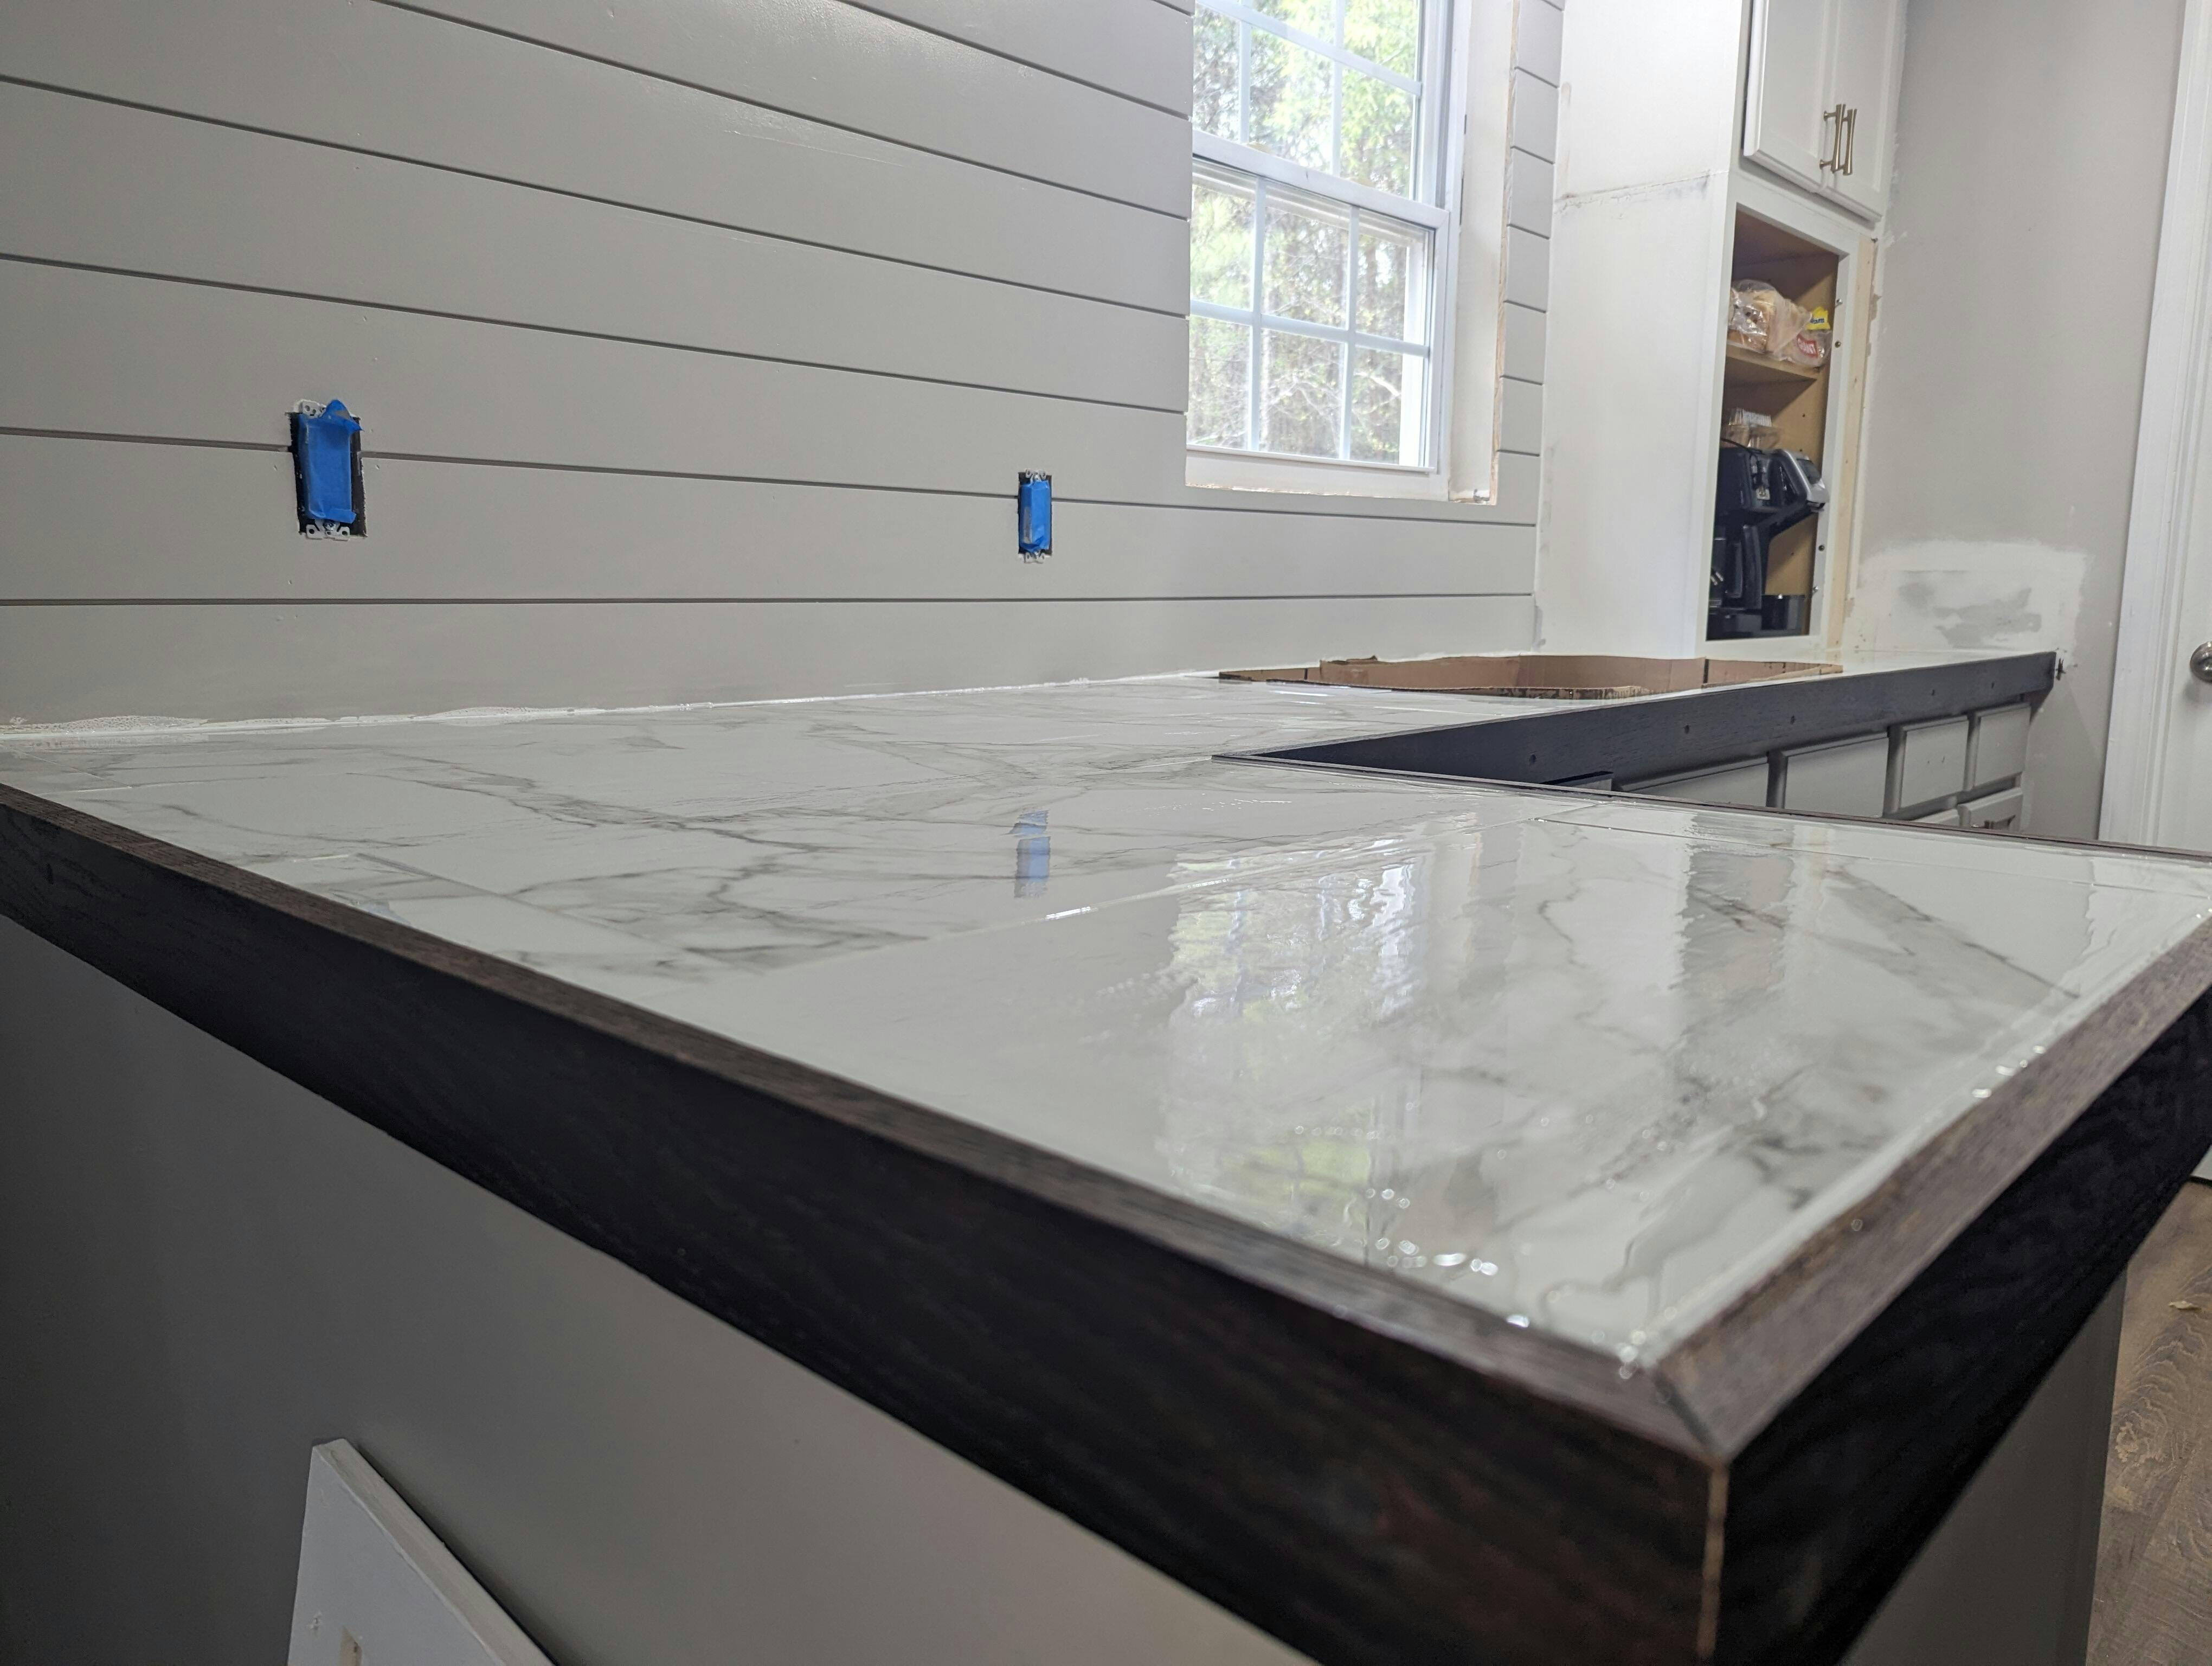
Was able to do our kitchen counter tops, beautiful glass like finish, never even had to use heat gun for bubbles. Will definitely buy again.

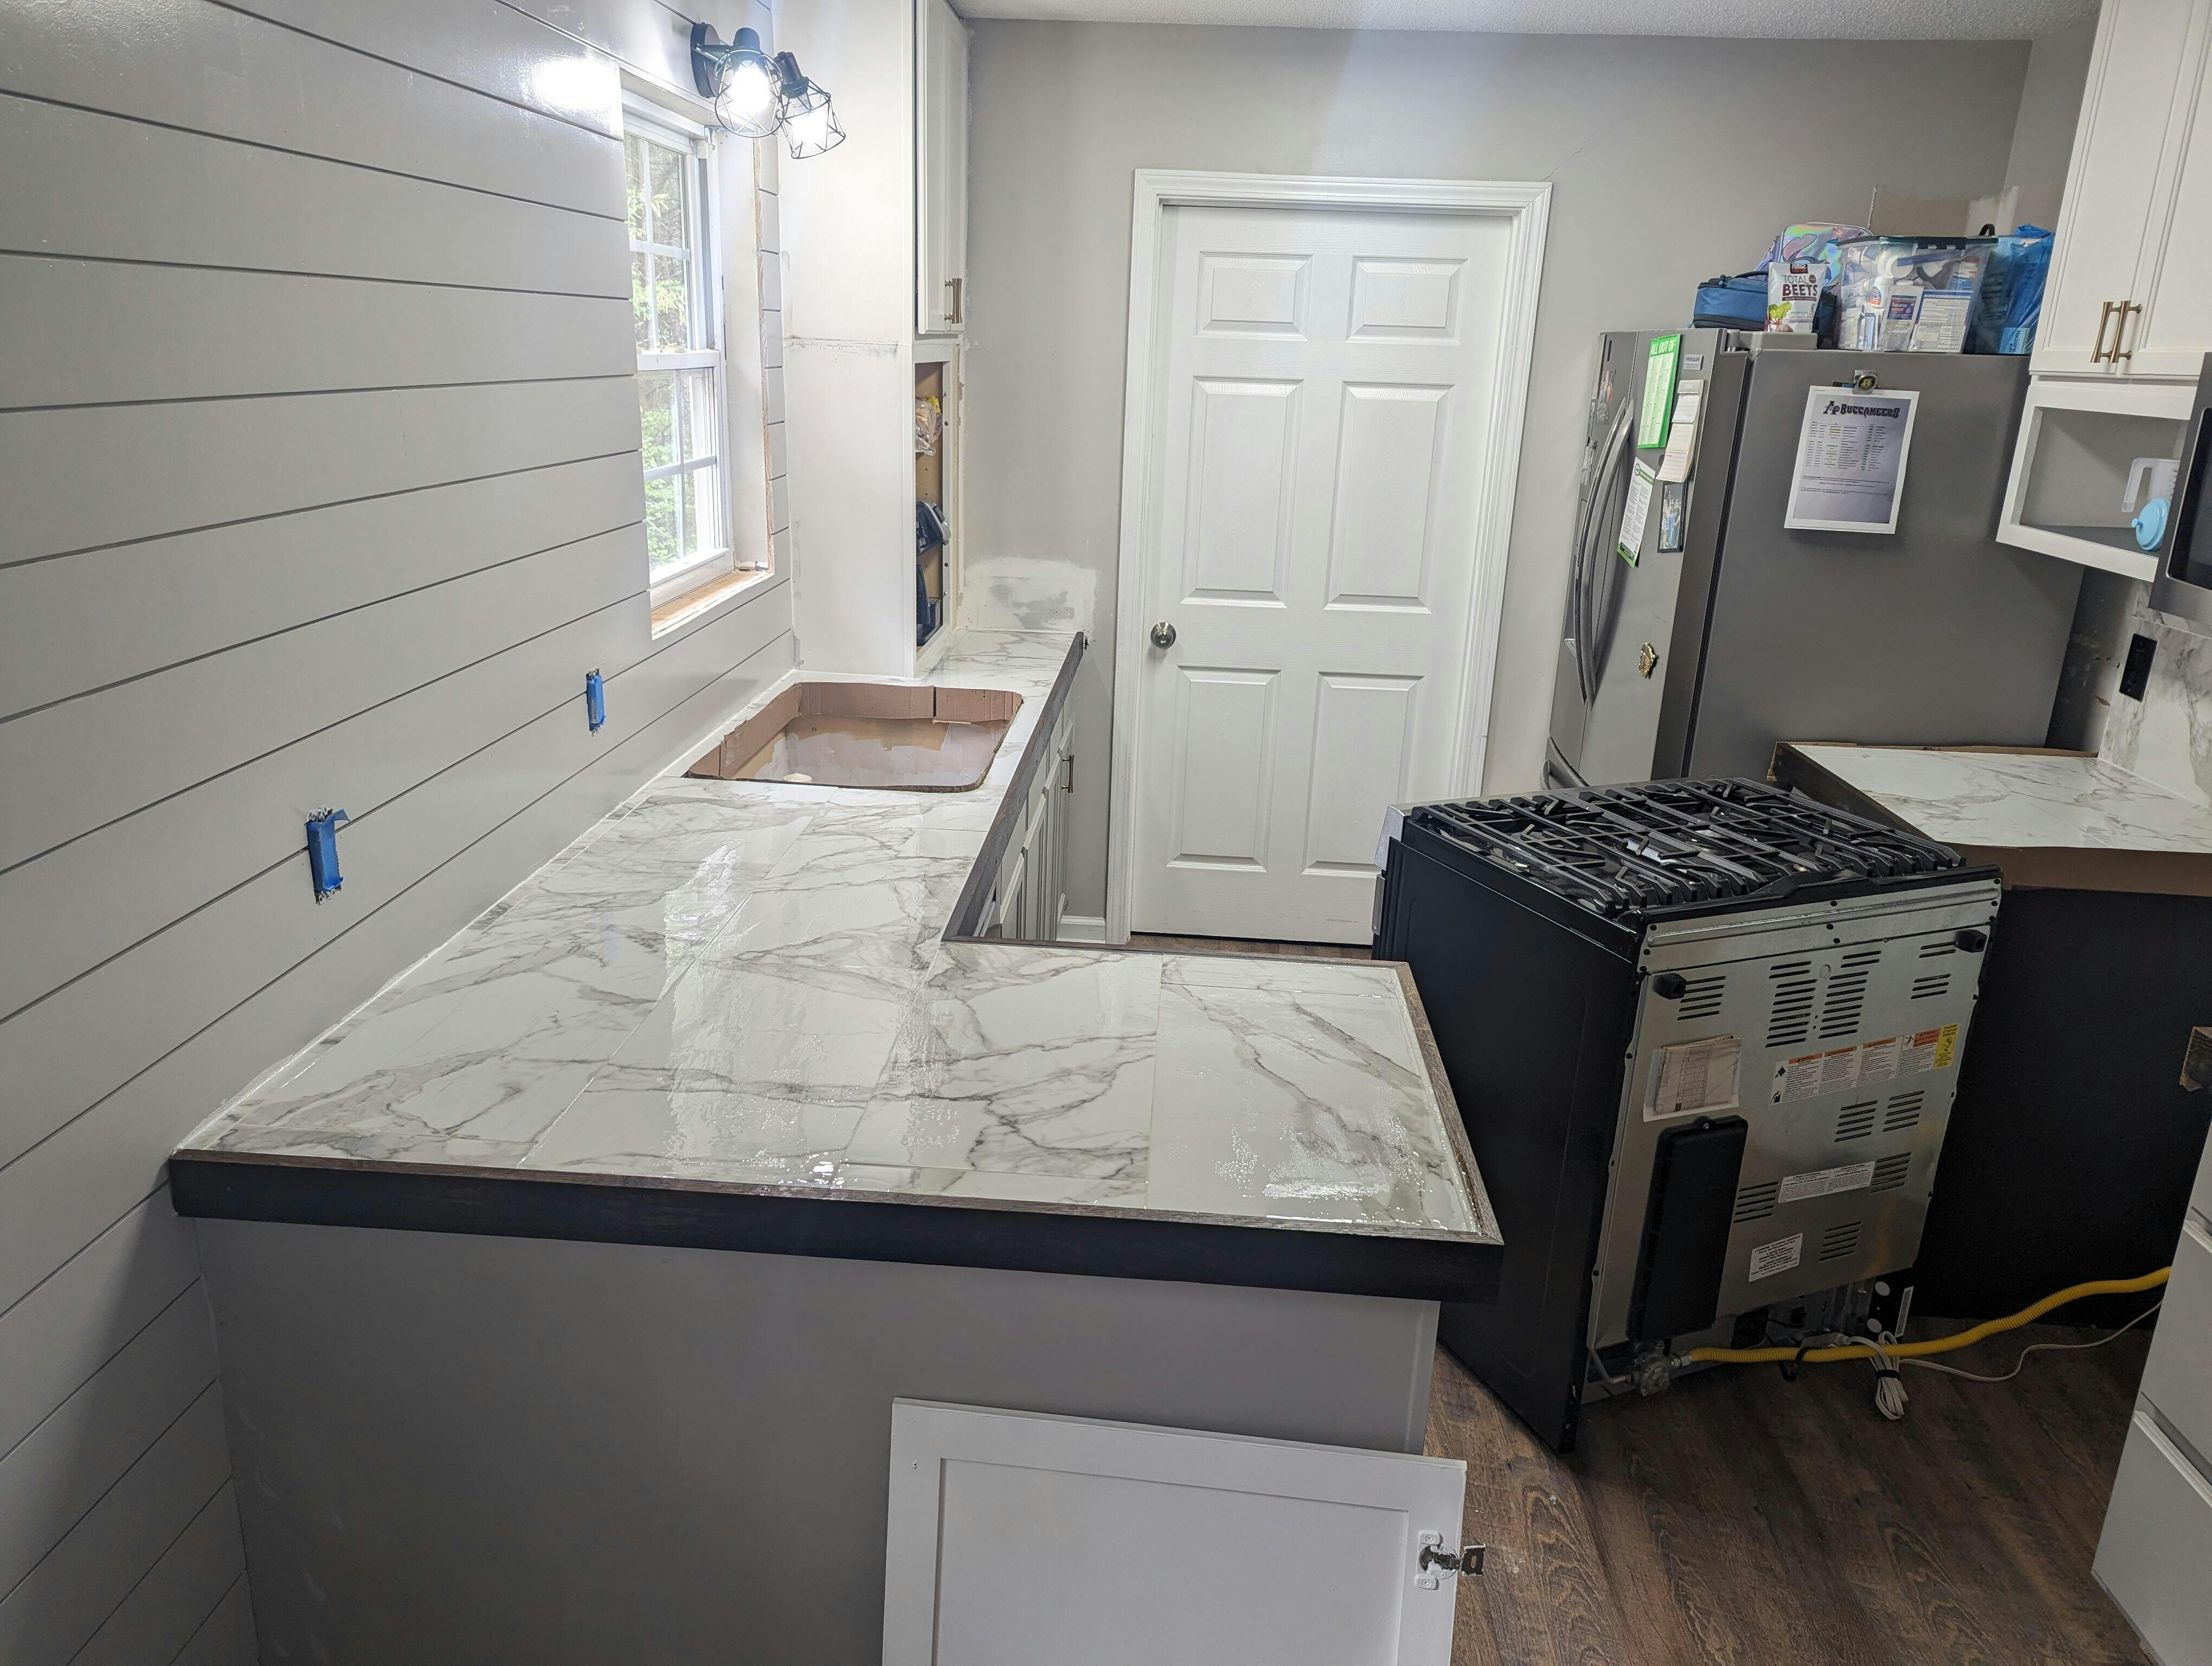
We were terrified to use epoxy and decided to purchase this on kind of a whim. We tiled our countertops and then framed beautifully with a stained wood. The epoxy was just the icing on the cake! While it wasn't as self-leveling as we thought with a drywall scraper we were able to level out and make sure every area was covered. Definitely not as many bubbles as we thought, but the heat gun worked magically!

not my first epoxy project but definitely my first with primaloc.
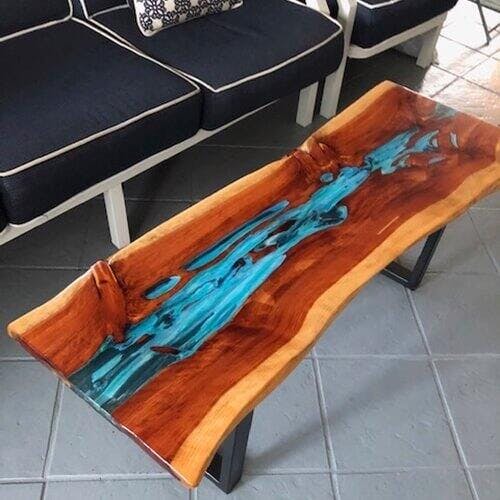
I didn’t think this would be worth the money but it had a lot of positive reviews so I figured it couldn’t hurt to try. I did a couple test samples using a mold I had and some pigment from another store and it worked perfectly. Then I did my bigger project (just a small river table) and was really careful not to let it leak over the sides. Everything went really smoothly and I just followed the instructions, nothing fancy. 10/10
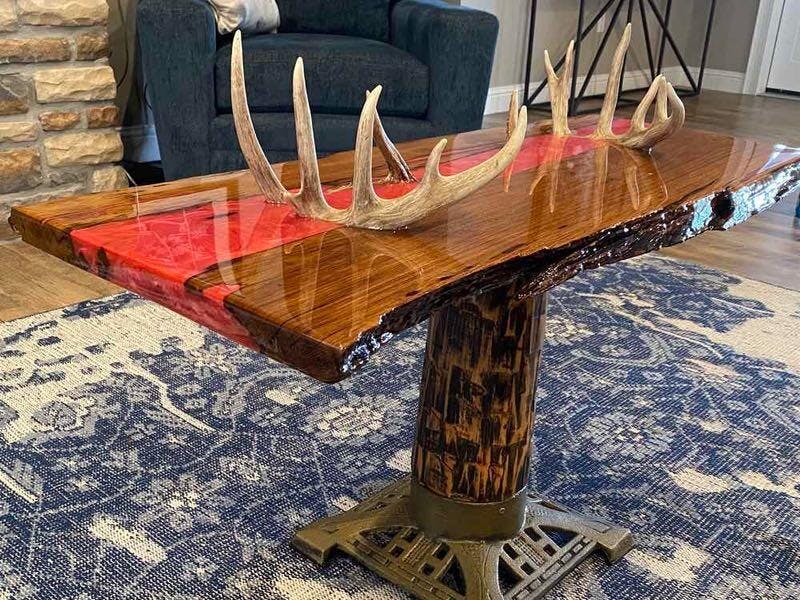
we made a river table with a thick epoxy. it turned out great though curing took some time.
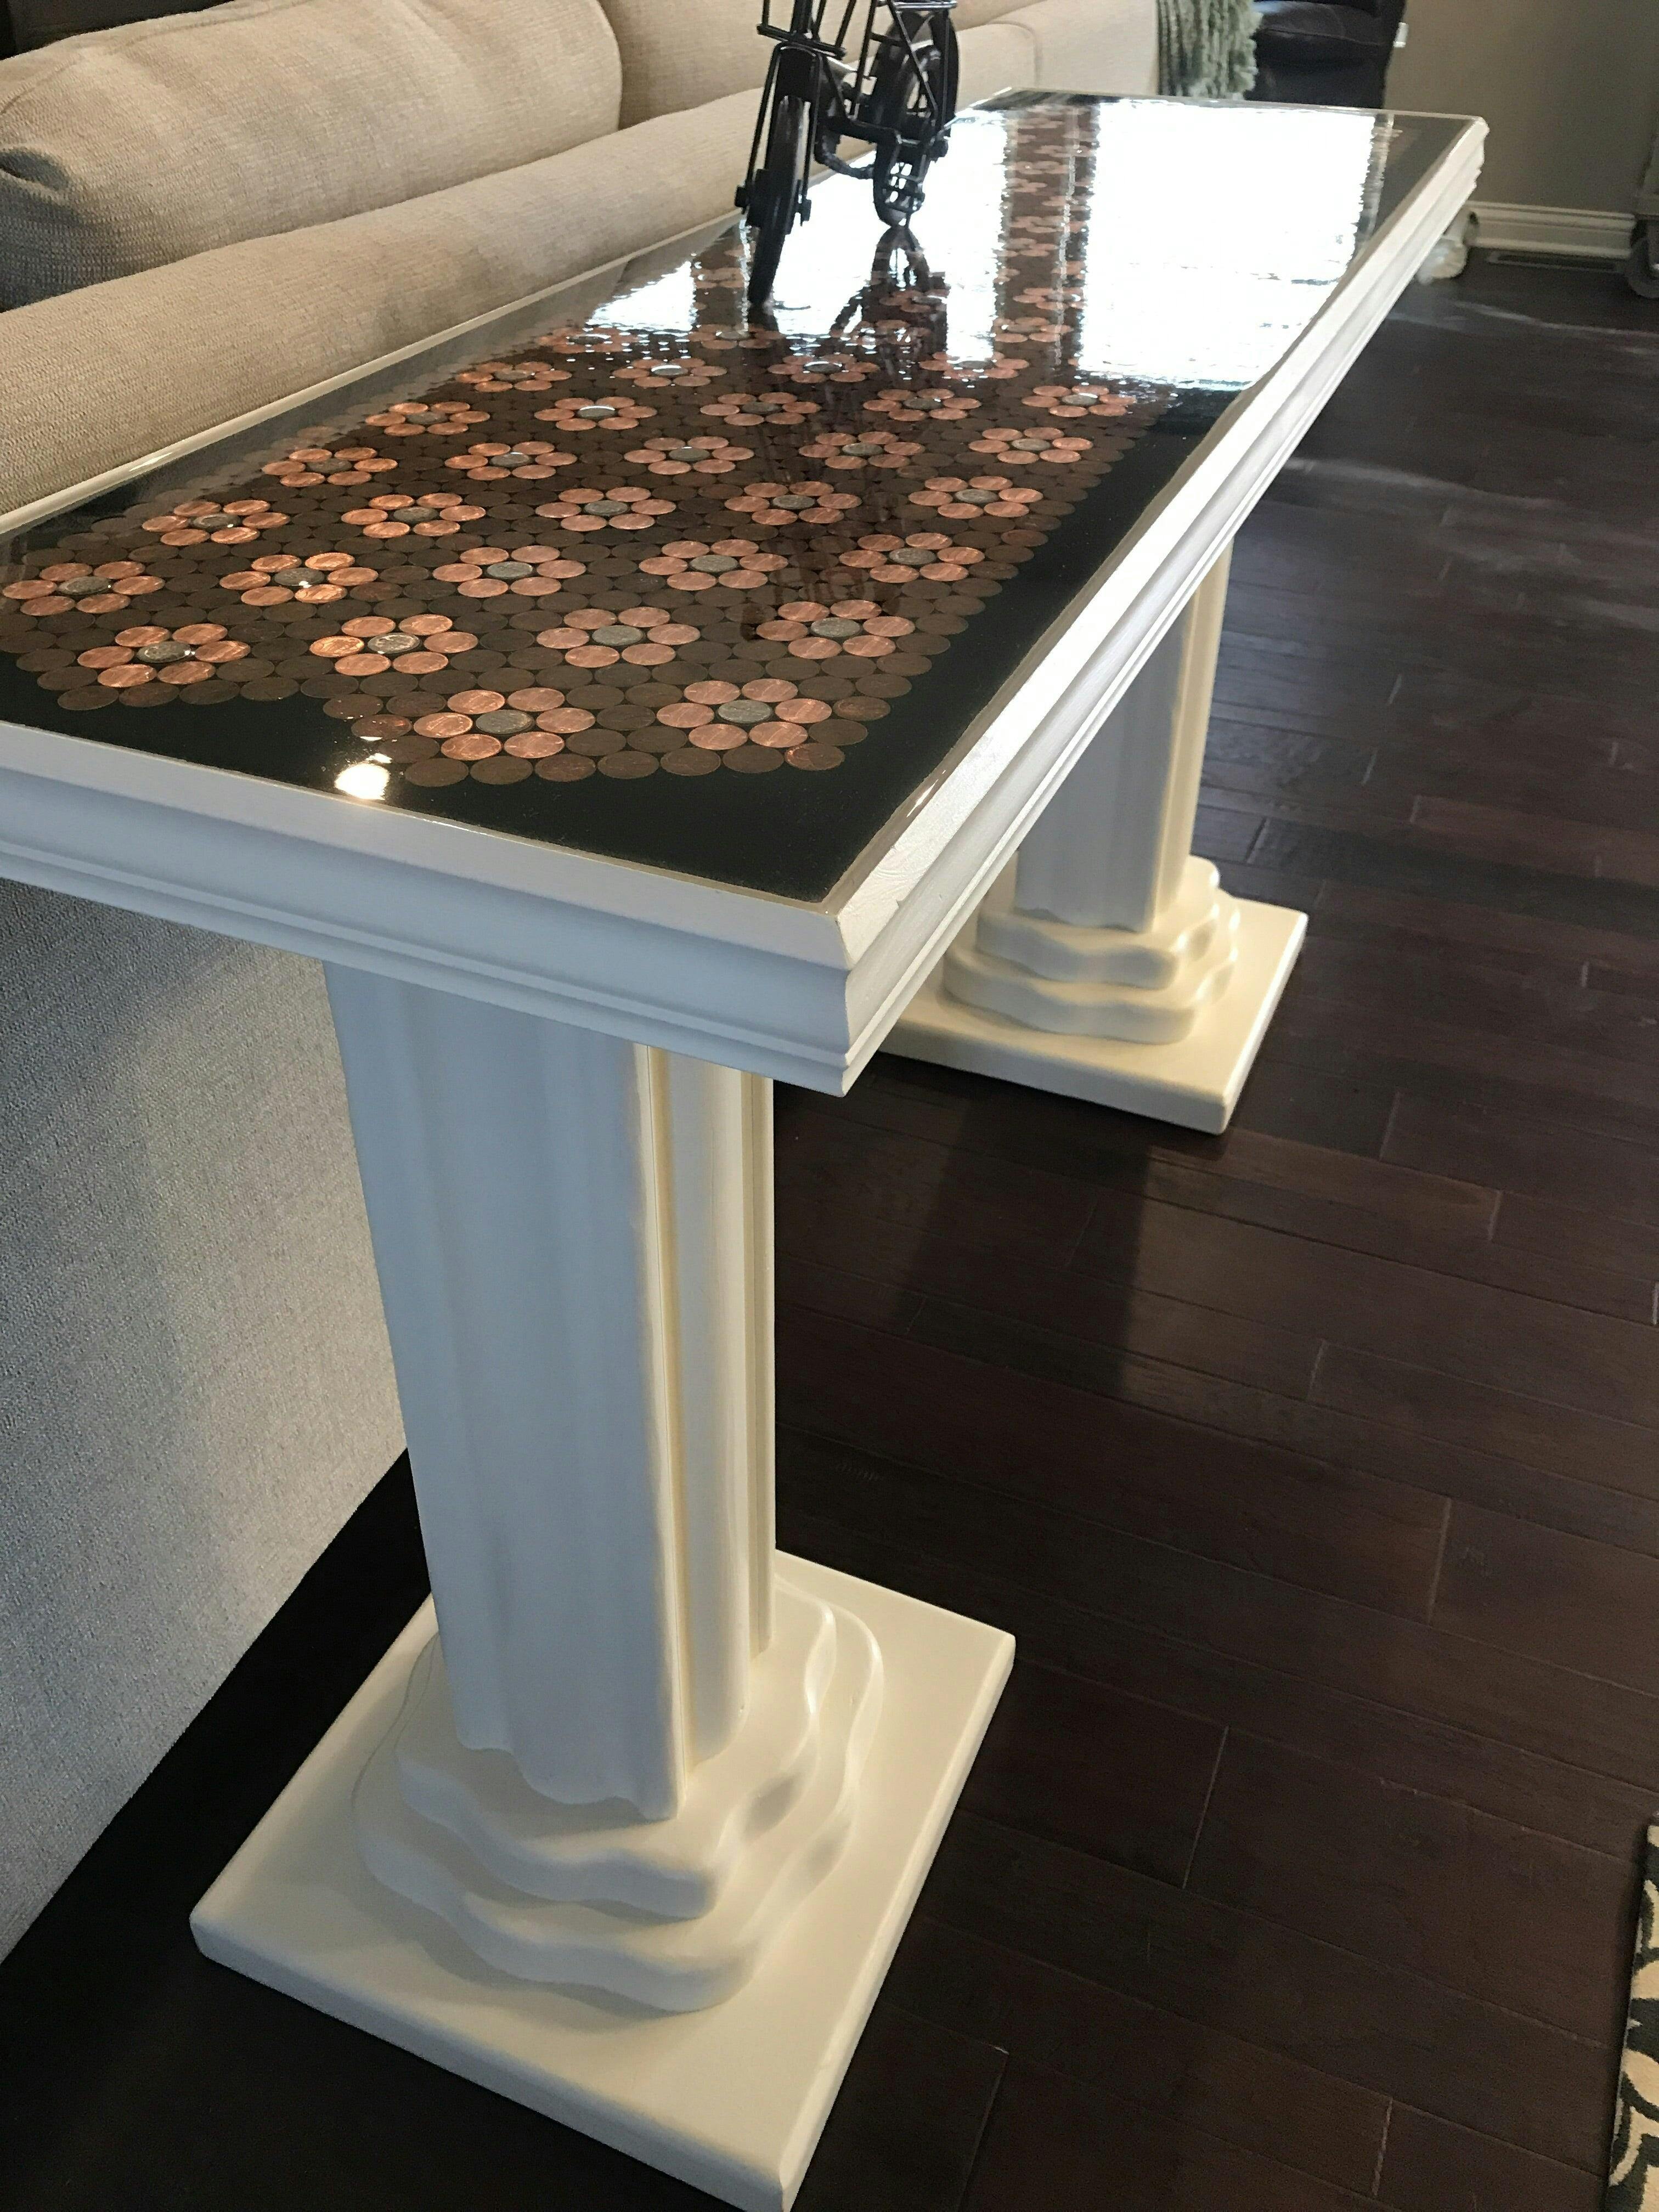
deep pour looks great. got it fast, too, and the penny project went as planned.
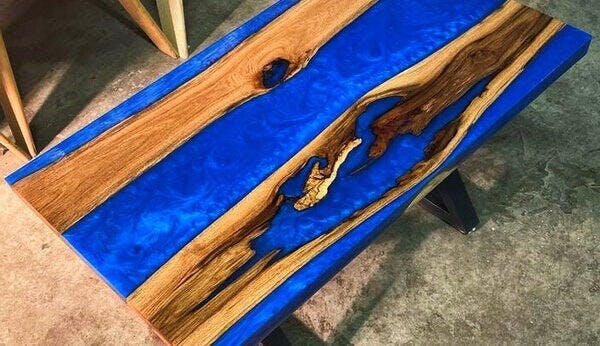
our deep blue table looks incredible, wowow. the color didn’t turn out as good in the photo but in reality its super.
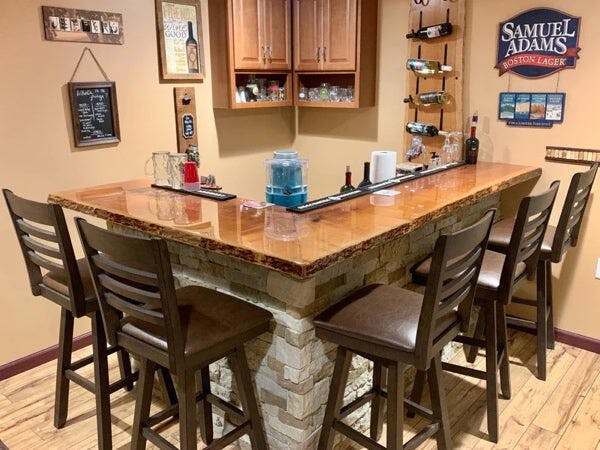
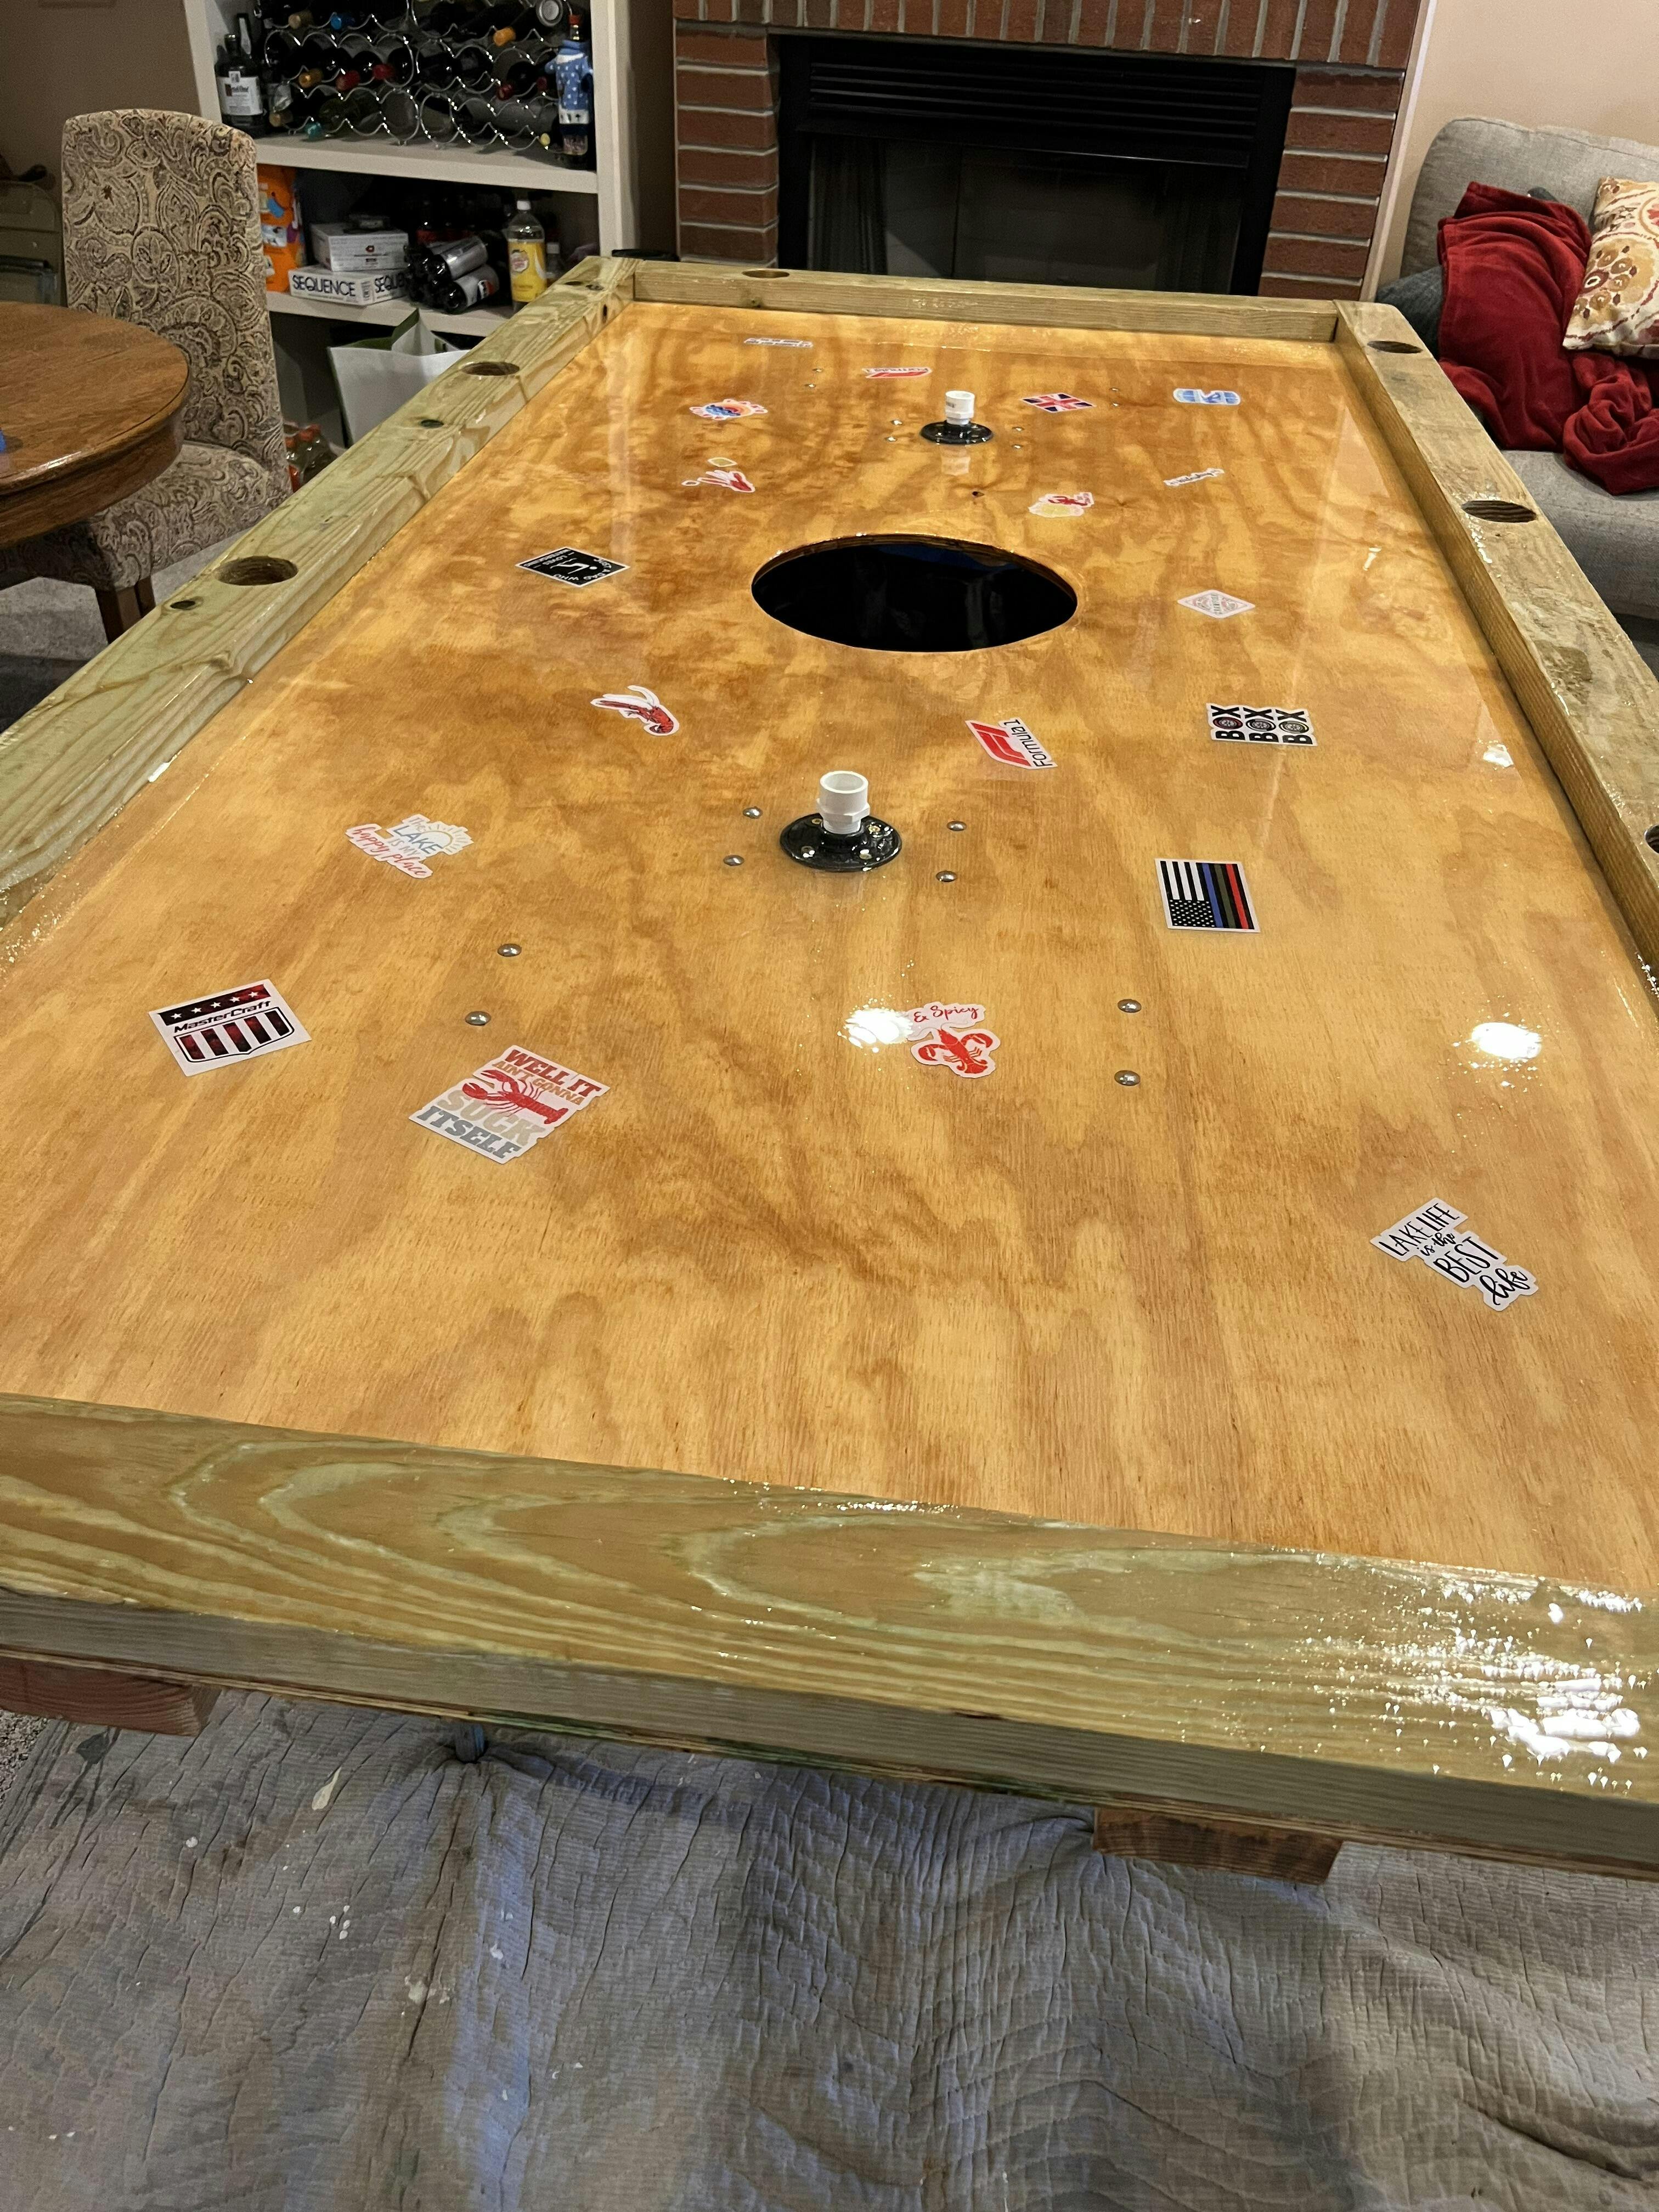
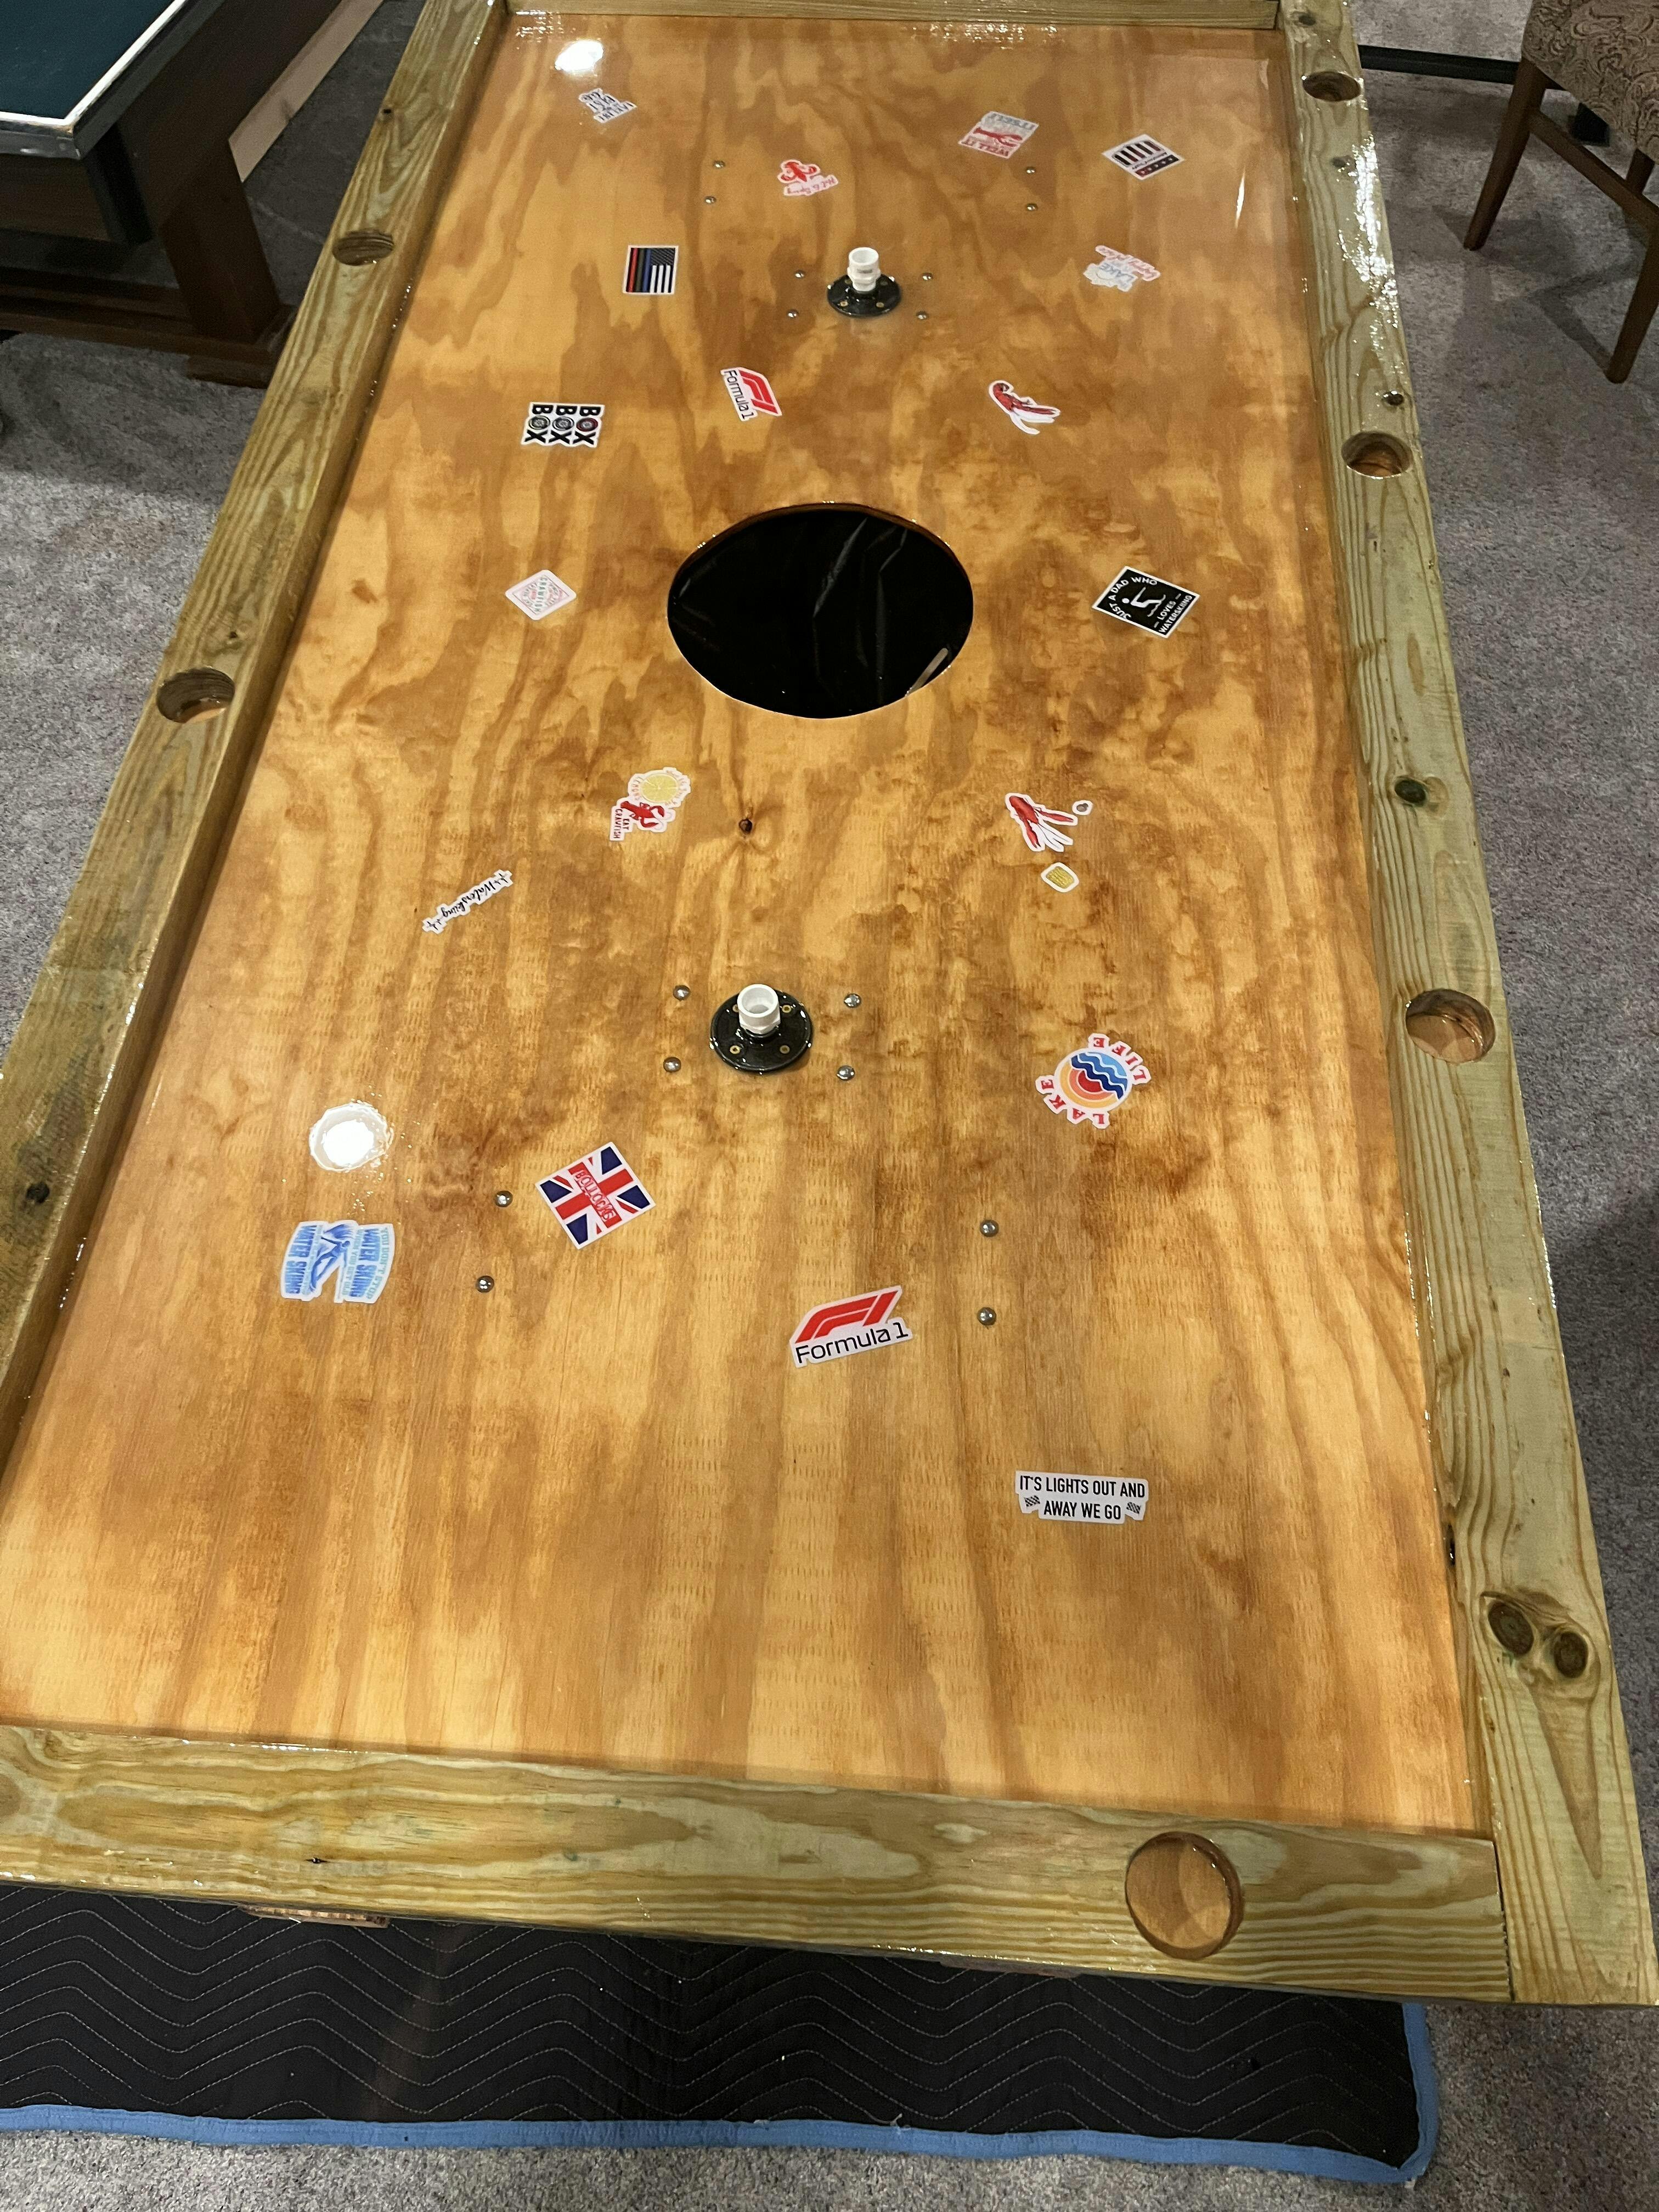
We’ve never worked with epoxy before and we built a crawfish/shrimp boil table. We needed to flood the table. The chart on the website was accurate too. We had enough to seal the side rails and flood the table. Little to no air bubbles. Self leveling. Table came out great!
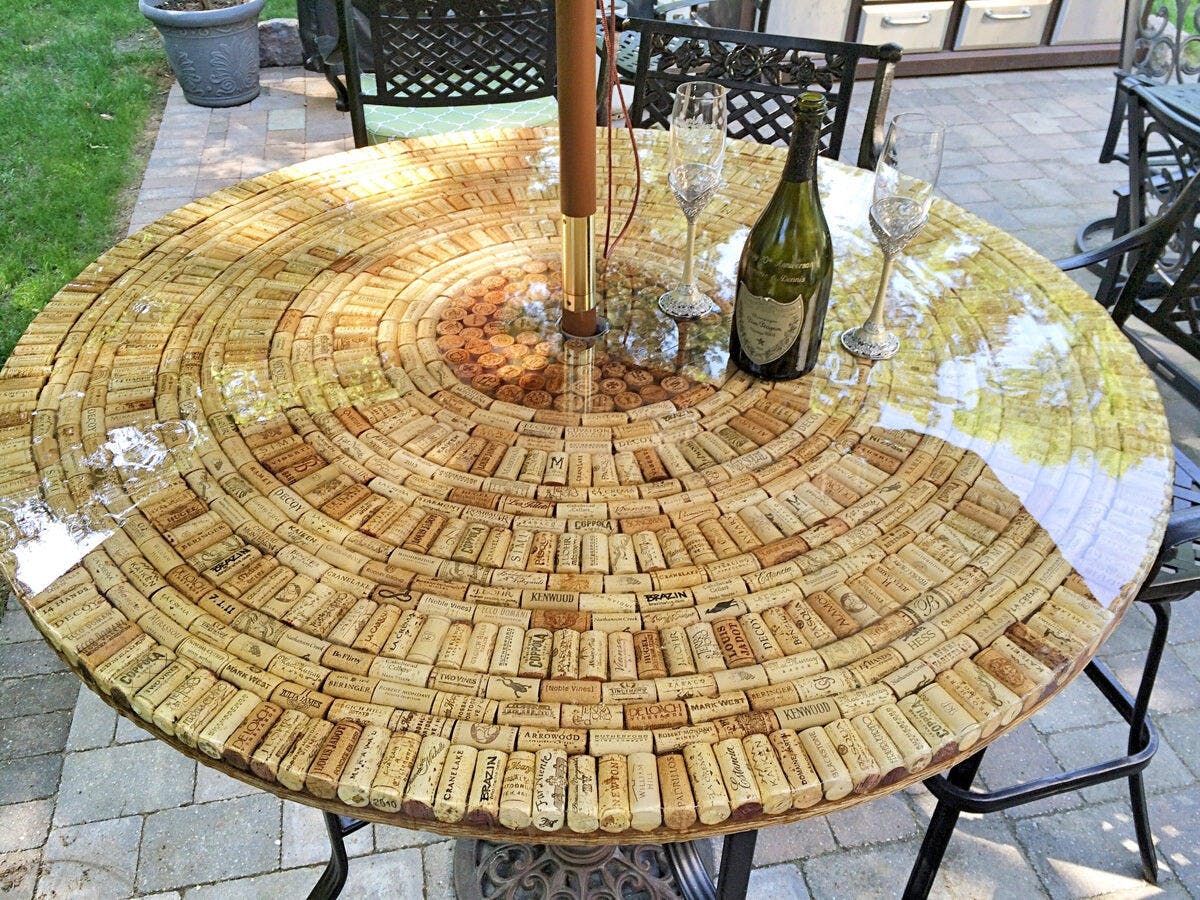
This stuff is so beautiful. Finished our table top with it and a huge amount of corks we gathered.
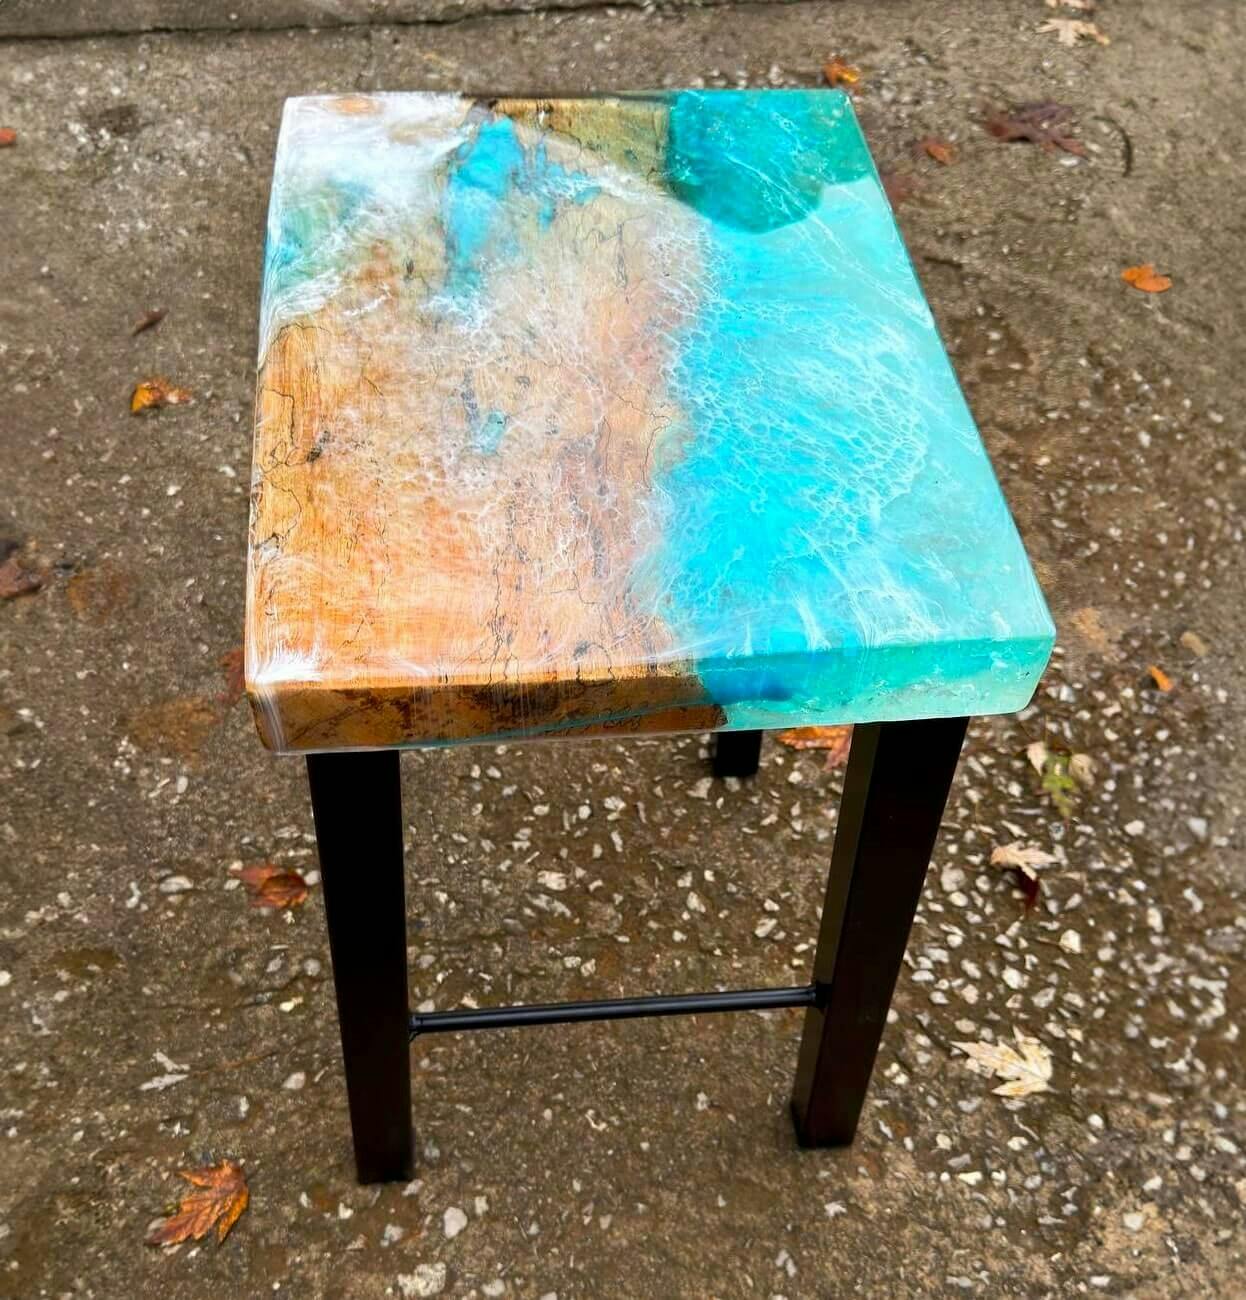
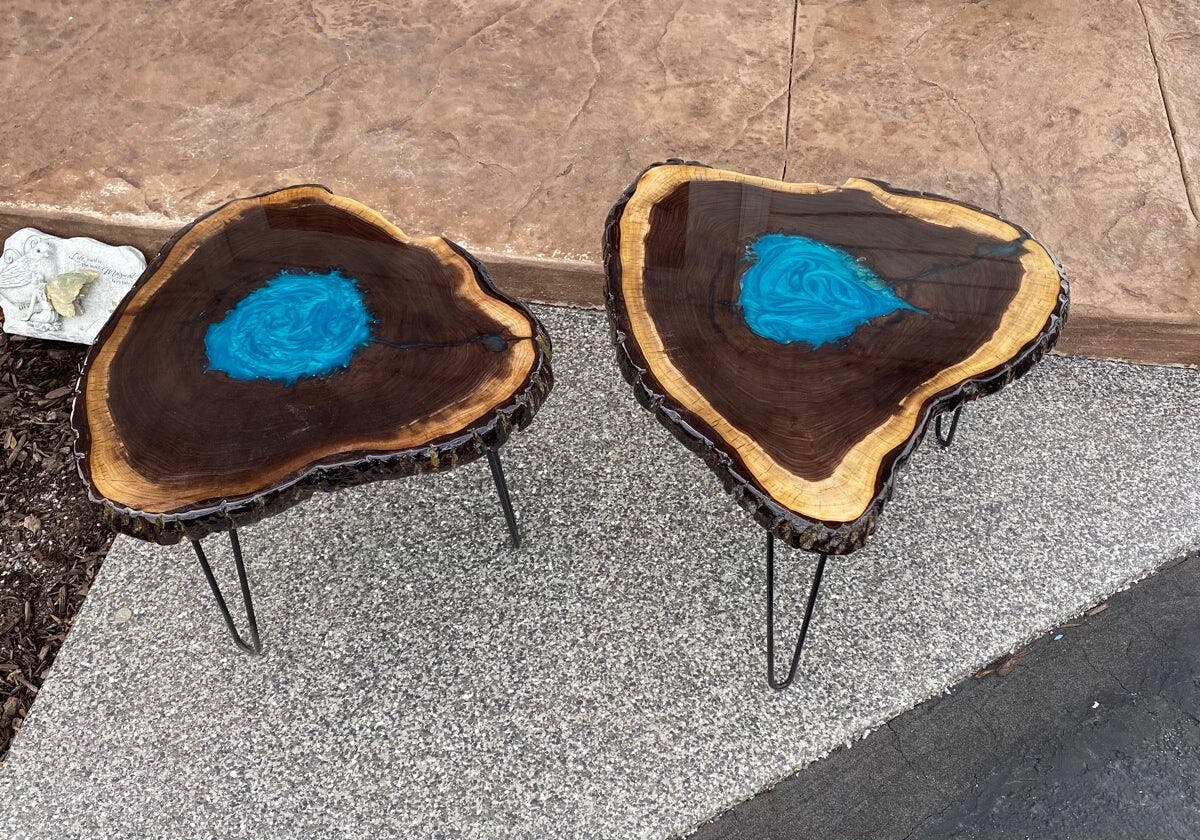
Did two end tables. Both are cured and feel very solid. Would recommend this Deep Pour.
i wanted a bottle cap table. i had a professional handle it and he did an amazing job using the primaloc resins. shipping was fast, too. appreciate it!
